Xtreamer Pro Media Player Review
4. Powering up the player, Firmware update
Review Pages
2. Specifications
3. A closer look
4. Powering up the player, Firmware update
5. Installing a HDD
6. Settings
7. Playing Media files
8. Internet services
9. Jukebox
10. Wireless LAN Setup
11. Final words
We are ready to power up the player. All you need to do is connect the power cable to the rear panel of the player, and it will automatically power up. Then you should plug an HDMI or composite cable to your TV set. We understand that the player powers up using the remote control since there is not any power switch available on the device. However, a power switch could be useful for zero power consumption.
The player boot up and below is the first screen that shows up:

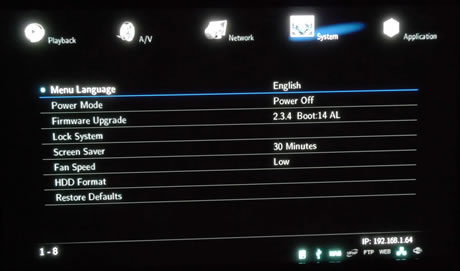
We immediately got into the "Settings" area and we checked the installed firmware. The device came with the rather old Ver. 2.3.4 firmware installed, so we visited the Xtreamerpro. net web site and downloaded the latest available firmware is Ver. 2.4.2. The firmware was transferred to the player using a FAT32 USB stick.

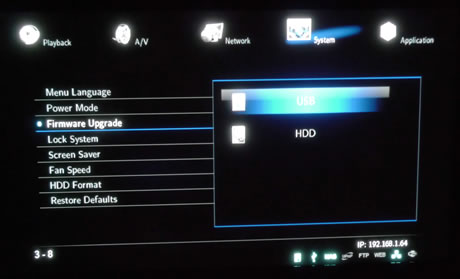
The firmware upgrade procedure is fast and simple. We select the source where the firmware file is stored (USB):

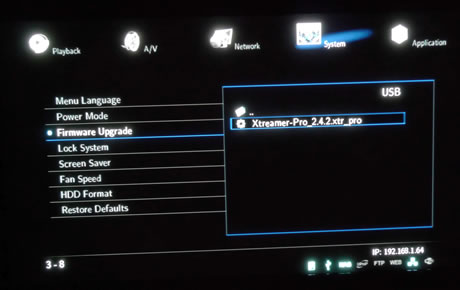
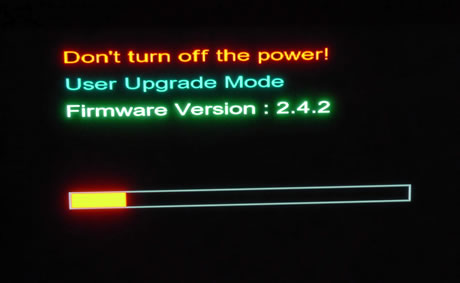
The firmware file was there (Xtreamer-Pro_2.4.2_xtr_pro). We highlighted it and the upgrade procedure began:


After a minute, our device self-rebooted to complete the procedure:

