AOpen XCcube EZ65-II Mini Barebone System
4. Interior look & Assembly
Review Pages
2. Retail Package
3. Exterior look
4. Interior look & Assembly
5. Motherboard
6. Bios & overclocking
7. Cooling
8. Conclusion
AOpen XCcube EZ65-II Mini Barebone System - Page 4
Interior look & Assembly
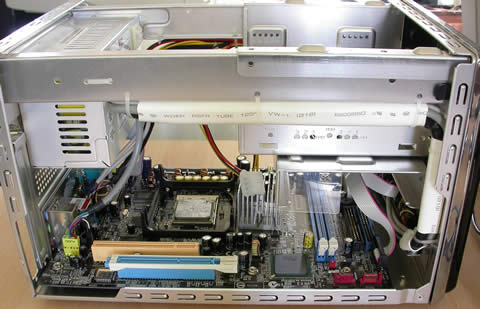
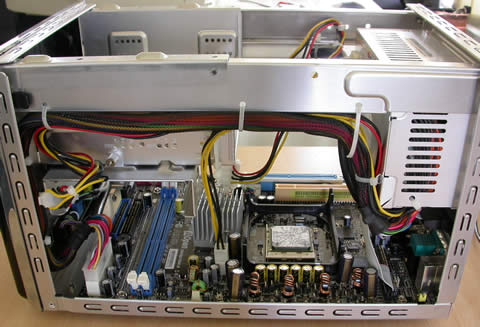
To transform the AOpen XCcube EZ65-II into a working computer system, the CPU, memory, hard drive and an optical drive are needed. You can optionally install a PCI expansion card or an AGP graphics card, or use the 3.5" bay in the front of the case to install a floppy drive or a multimedia card reader. Whatever you may need to do with the XCcube, bear in mind that installation is extremely easy and with minimal or no tools needed. You can manage to assemble all the necessary parts with a simple philips screwdriver. Opening the case or removing the hard drive bay can be done with no tools at all, just your bare hands.
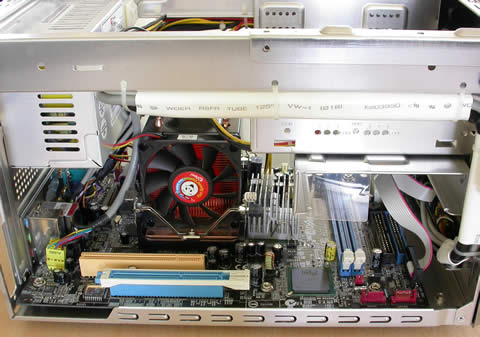
As you can see for yourselves, there are no loose cables hanging around inside the case, with everything fastened neatly onto the case in order to maximize the working space and thus make installation easier. It also facilitates better airflow around the case.
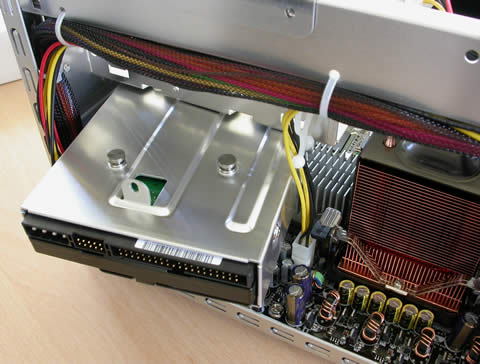
This is the hard drive bay, which is detachable and is fastened onto the case with one screw
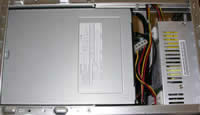
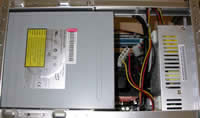
The case has enough space to accommodate full length or smaller length optical drives.
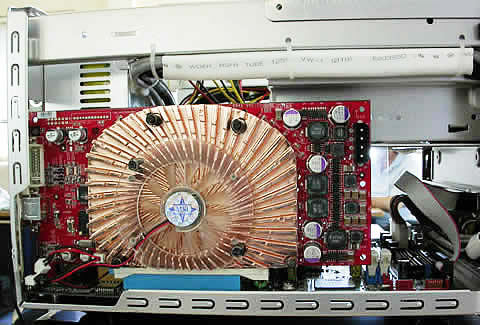
We also installed an extra AGP card to see if it will fit in the case. There was no problem with the installation. Just bear in mind that if you are thinking of installing a graphics card with a huge cooling system that requires more than one slot, the XCcube case will not be able to accommodate it. As a matter of fact, things were already a bit packed with one "normal" size vga card, as it seats very close to the case cover. Of course the vent holes in the cover provide enough cool air for the card, but the card itself blocks the flow of air in the case.
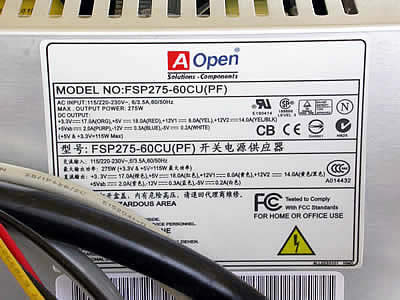
The power supply unit (PSU) is also manufactured by AOpen and and supplies 275W output power. While this might seem inadequate, this PSU managed to handle the test system we assembled with an Intel P4 3.2GHz and an Nvidia FX 5950 Ultra. The PSU features a 20-pin (main) and a 4-pin (12V) power cable, three 4-pin 12V and one 5V connectors (Molex). In the package is included a power adapter for SATA drives. Also, the PSU is universal and can work with both 110V and 230V input voltages by flipping a slide switch located at the rear of the case.
Review Pages
2. Retail Package
3. Exterior look
4. Interior look & Assembly
5. Motherboard
6. Bios & overclocking
7. Cooling
8. Conclusion


