be quiet! Dark Perk Mice
3. Software
In addition to high-quality hardware, robust software support is essential. be quiet! has invested significantly in this area, offering users two ways to control their mice: locally or via the web. Users can either download the IO Center software or visit the official web portal at https://iocenter.bequiet.com. What truly sets the be quiet! IO Center apart is the flexibility of its web-based interface. If you prefer not to install local software, you can manage your mouse settings directly through a compatible browser. This is an excellent feature for gamers on the go or those who prefer to keep their OS as clean as possible, offering nearly identical functionality to the local application without the footprint of a traditional installation.
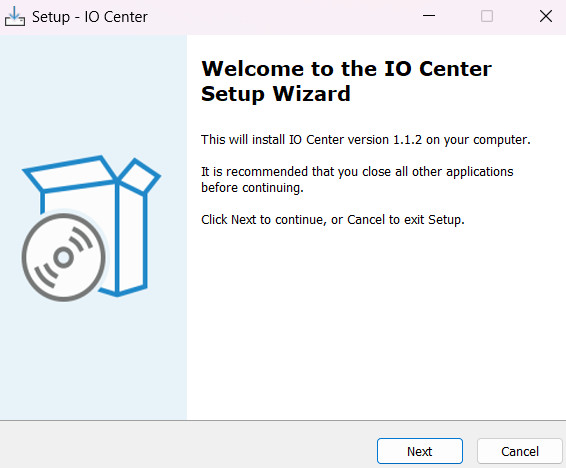
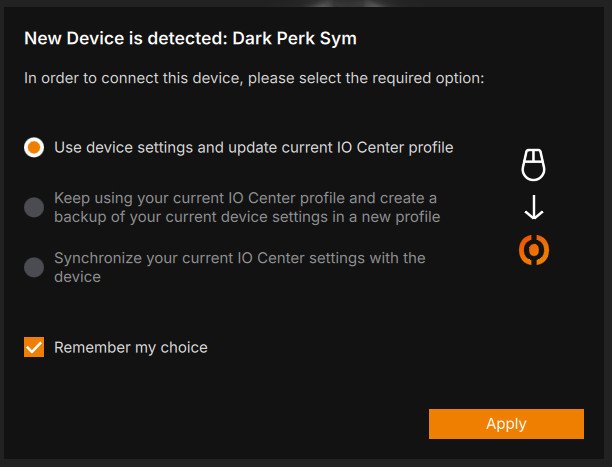
For our testing, we began with the local IO Center application, which features a lightweight installer and a very quick setup process.
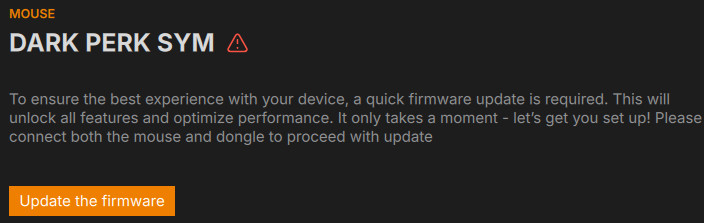
Upon initial use, you may be prompted to perform a firmware update. This was the case with our review units, requiring us to connect each mouse individually with its respective adapter to complete the update process.
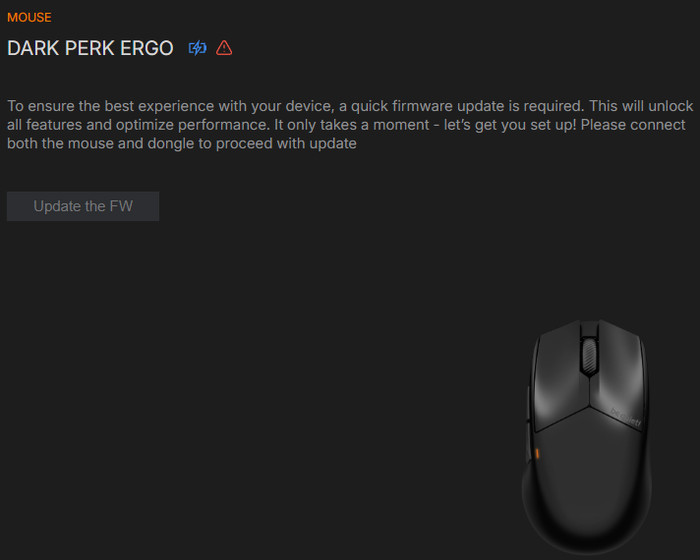
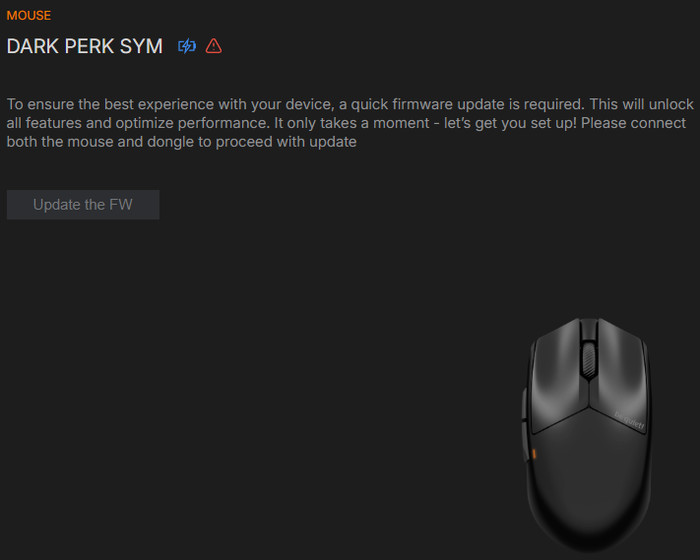
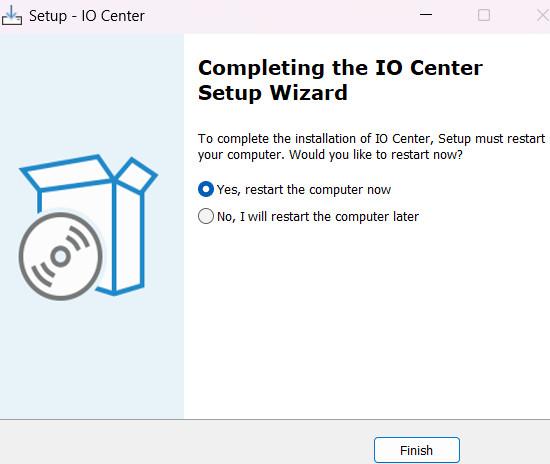
The update is automatically downloaded via the internet and takes less than a minute to complete, allowing you to get started almost immediately.
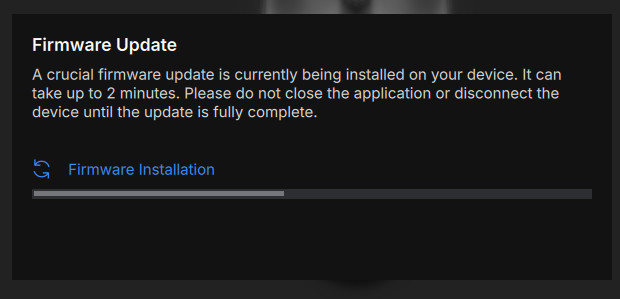
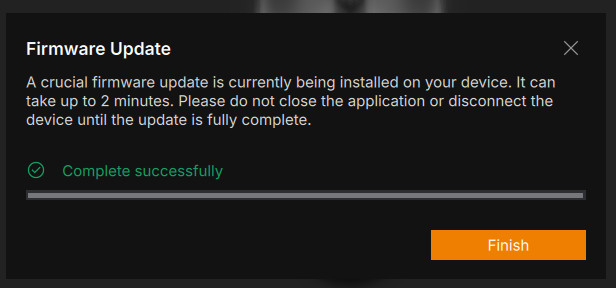
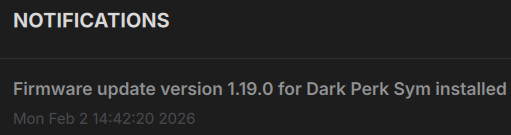
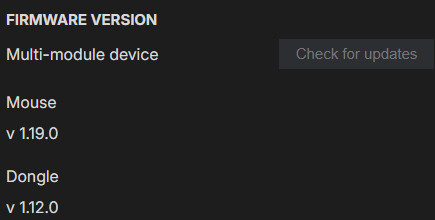
"Once the firmware update is complete, both the mouse and the dongle will be running the latest available versions. It is likely that be quiet! will continue to support these products with future firmware and software updates to further improve stability and usability.
Following the firmware update, we are now able to configure and adjust both mice to suit our specific needs.
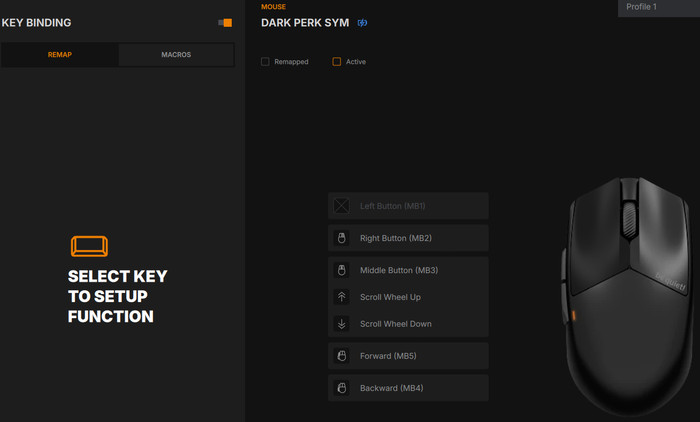
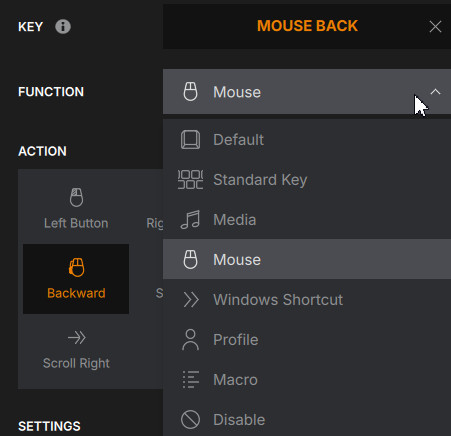
The IO Center software is organized into three primary sections for mouse customization: Key Binding (for remapping and macros), Performance (DPI settings), and Features. Starting with Key Binding, you can easily reassign the function of any of the five buttons to suit your preferences. By simply clicking on a specific button in the software interface, you can change its primary command, assign a macro, or set a shortcut.
| Button | Default Function | Customization Options (via IO Center) |
| Left Click | Primary Click | Any Mouse/Keyboard Key, Macro |
| Right Click | Secondary Click | Any Mouse/Keyboard Key, Macro |
| Scroll Wheel | Middle Click / Scroll | Scroll, Click, App Launch, Multimedia |
| Side Button 1 | Browser Forward | Macros, Windows Shortcuts, Keybinds |
| Side Button 2 | Browser Backward | Macros, Windows Shortcuts, Keybinds |
| Bottom Button | DPI Cycle | Cycles through 5 stages (Customizable) |
| Bottom Slider | Power ON/OFF | N/A |
Once a button is selected, the software displays all available actions, functions, and settings specific to that button.
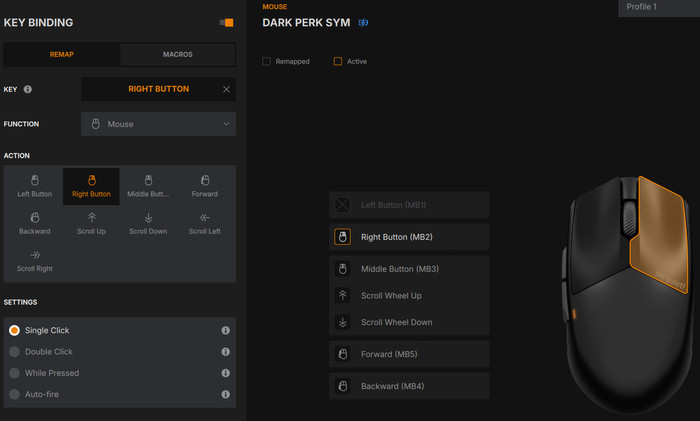
There is an extensive list of functions and actions to choose from; with so many customization options at your disposal, your imagination is the limit.
Macros are also available for power users who require complex command sequences. To create one, simply define a new action and hit the record button to capture your keystrokes and timing automatically.

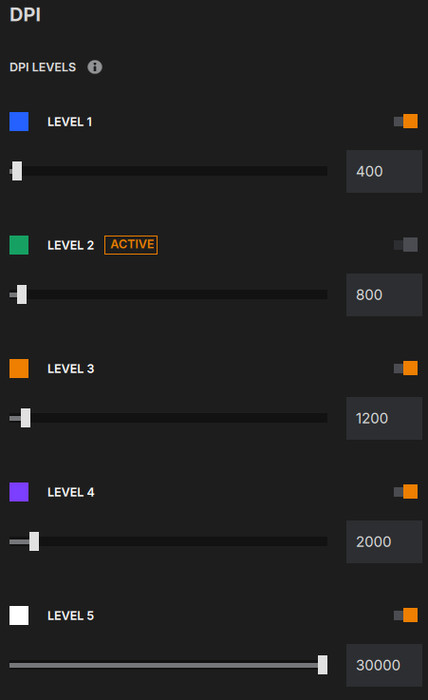
The PixArt PAW3950 sensor is capable of increments of 50 DPI. By default, be quiet! ships the mouse with 5 industry-standard steps:
-
Stage 1: 400 DPI (Red Indicator)
-
Stage 2: 800 DPI (Blue Indicator) — Standard for most FPS pros.
-
Stage 3: 1,600 DPI (Green Indicator) — Ideal for 1440p/4K desktop use.
-
Stage 4: 3,200 DPI (Yellow Indicator)
-
Stage 5: 6,400 DPI (Purple Indicator)
Using the IO Center Web app, you can reduce the number of stages (e.g., if you only ever use 800 and 1,600, you can disable the others) so you don't have to click through five settings in the middle of a game.
It is important to note that, by default, you can only cycle through DPI levels via the button on the bottom of the mouse. This is a bit of a drawback, as it requires you to lift the device during use. While you could remap this function to one of the top buttons, doing so would cost you a programmable slot. In favor of a sleek, harmonic aesthetic, be quiet! chose to place the dedicated DPI button on the base—a design choice you will either love or hate depending on your playstyle. Within the software, users can monitor the Active DPI setting and adjust it on-the-fly, either by using the horizontal slider or by typing the exact value into the input box on the right.
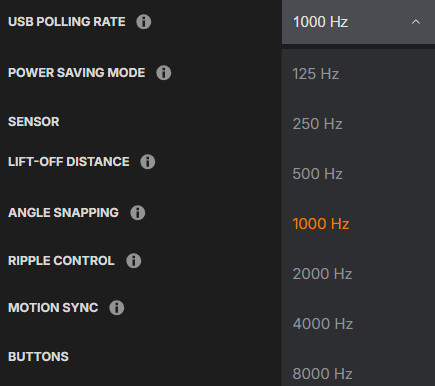
The final tab is Product Settings, where you can manage the firmware version and fine-tune critical performance parameters. Here, users can adjust the USB polling rate, configure power-saving modes, and tweak sensitivity settings. Additionally, it offers advanced options such as Lift-Off Distance (LOD) calibration and several other gaming-centric optimizations to customize the sensor's behavior to your specific surface.
-
Lift-Off Distance (LOD): Adjustable between 1.0mm and 2.0mm (default is 1.0mm for competitive play).
-
Motion Sync: Can be toggled ON/OFF. (Keep it ON for 1,000 Hz, but some pros prefer it OFF when using 8,000 Hz to minimize even the tiniest processing delays).
-
Angle Snapping: Available in the software, but disabled by default (as it should be for gaming).
-
Debounce Time: Since it uses Optical Switches, the debounce is effectively 0.1ms, meaning it is physically impossible for the mouse to "double-click" due to wear.
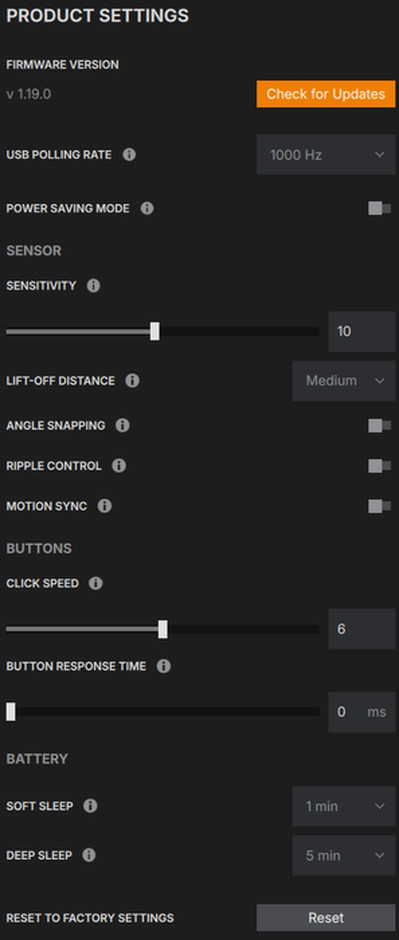
The USB polling rate is highly adjustable, ranging from 125Hz all the way up to 8000Hz to suit your personal preference and system capabilities.