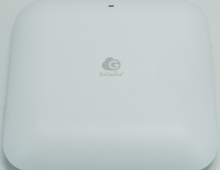
EnGenius EWS356-FIT
4. Operation - Features
Review Pages
2. Retail Package
3. FitXpress App
4. Operation - Features
5. Advanced installation
6. Conclusion
The installation process with all EnGenius FIT products can be performed via two basic connection methods, either via the FitExpress App (the easy way) or via the Http control panel method (the hard way). For this review, we will examine the easy easy via the FitExpress app, since most users will use this after all. First, you need to create a free online account or log in via Google/Facebook login credentials. After the login process, you can start adding devices. You need to connect the AP with a LAN cable to an existing switch that is also connected to the Internet.
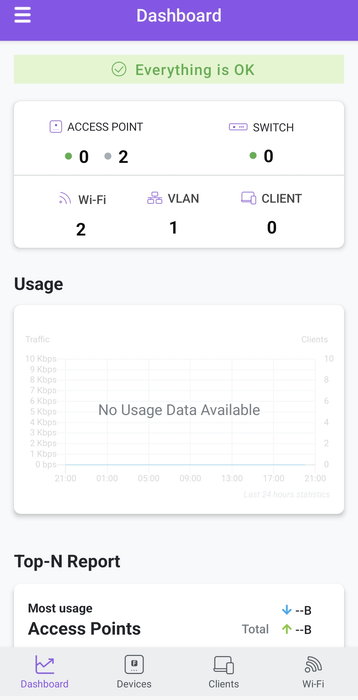
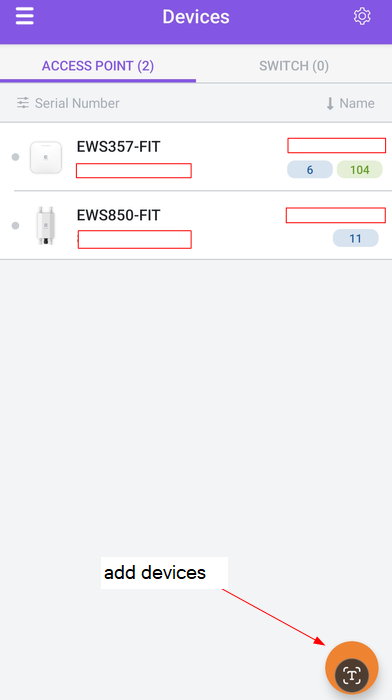
You have to press the + button in the app and scan the included QR Code that is placed at the back of the AP and the app will recognize the device and register it under your account/network.
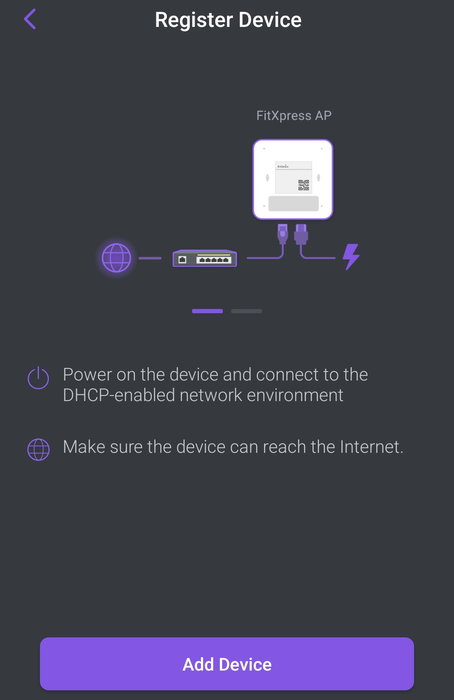
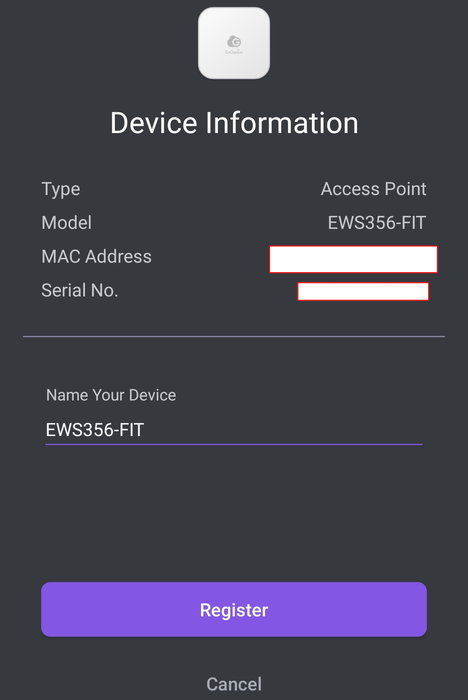
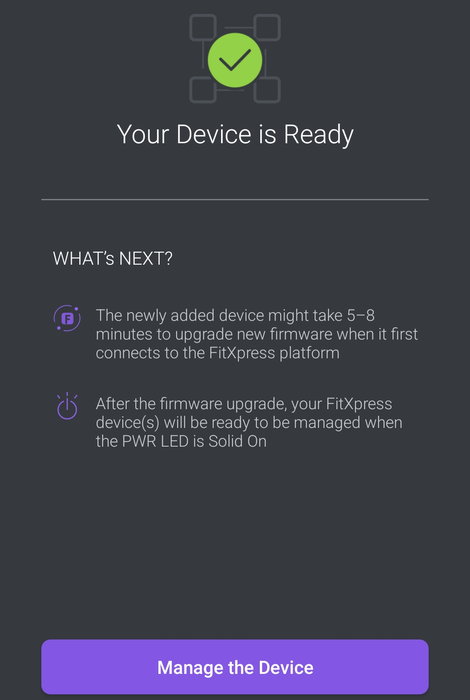
our device has been added to the network.
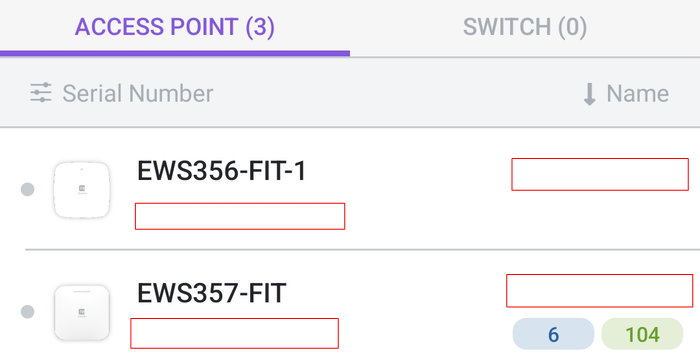
The device is connected to the internet and it takes some time to synchronized with the EnGenius servers
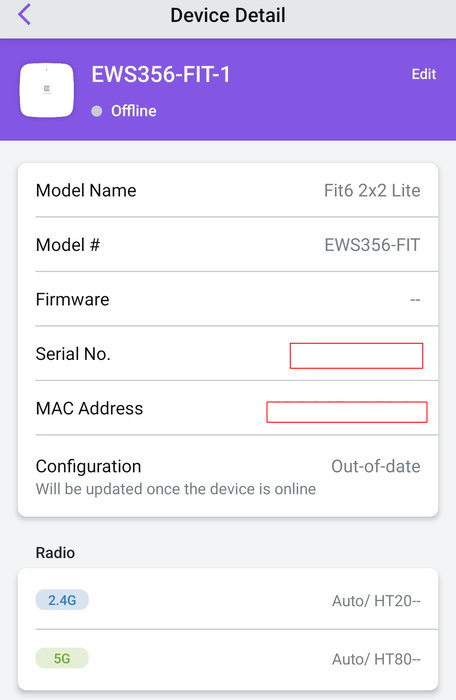
The device has been synced and it has 1.0.4 firmware pre-installed.
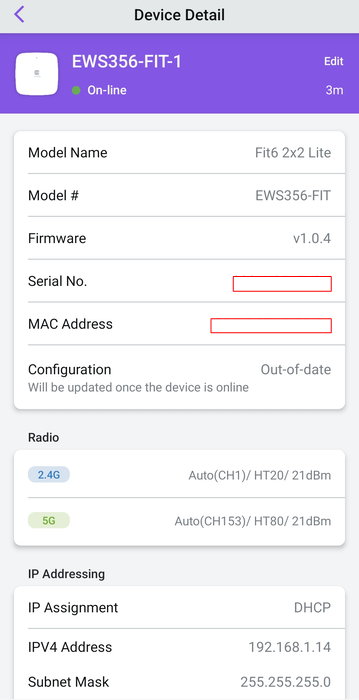
After looking at the EnGenius webiste, we found that there was a newer firmware revision of 1.0.20. However the firmware update process is not automated and users have to login to the local http control panel to start the firmware update process. You need to type https://xxx.xxx.xxx.xxx where xxx is the IP address of your EnGenius EWS356-FIT Access Point. The default username/password is admin/admin .
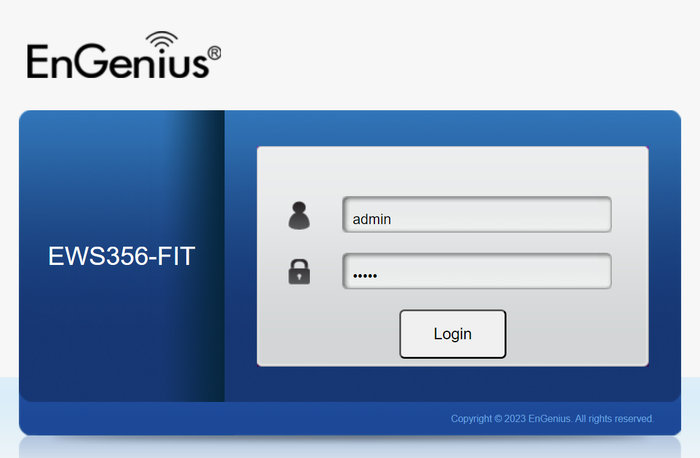
At the main EnGenius http control interface, we can view some details about the device.

while at the Local Setting tab, you can perform the firmware update process.
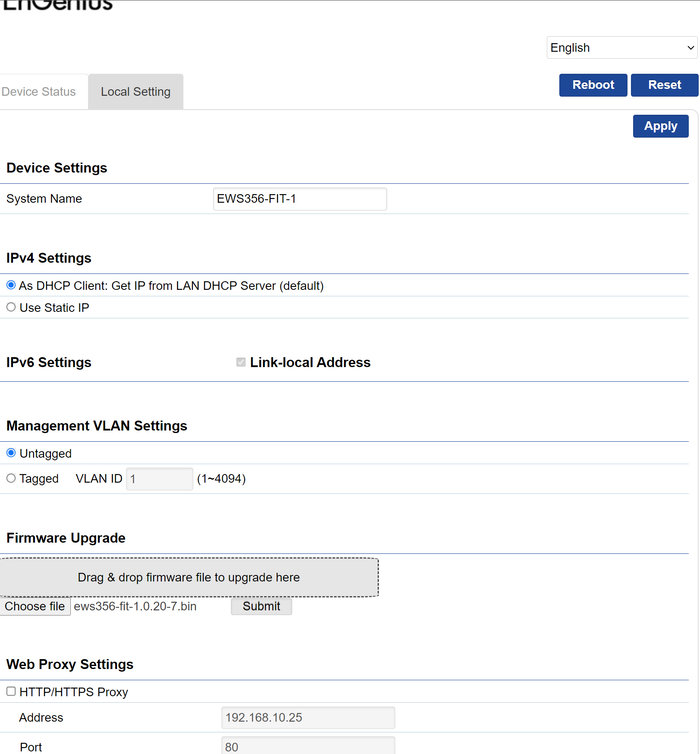
We selected the 1.0.20 bin file

and after 10mins...

our device had been updated to the latest (for now) firmware of 1.0.20.

For testing the MESH function, EnGenius also send us a second EWS-356-FIT device that was also added the local network.
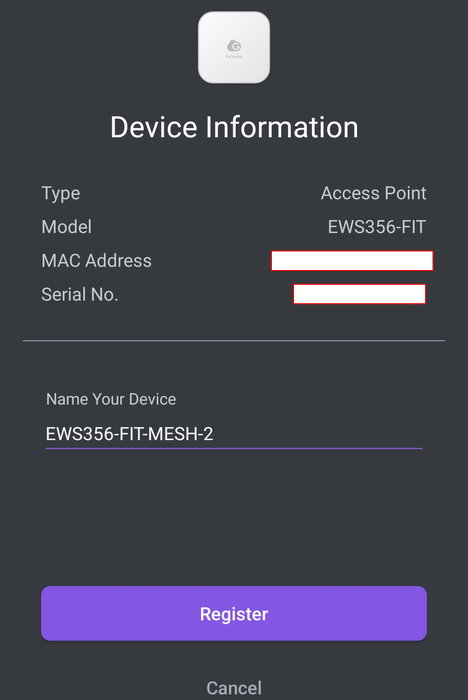
that was also updated to the latest 1.0.20 firmware revision.
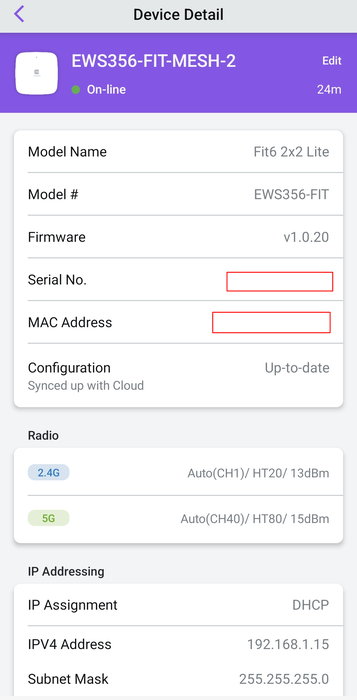
After that point, you can start playing around with the Wi-Fi settings of the device and other functions. There are several tests you can perform for your network to test speed and ping times and of course overall Activity.
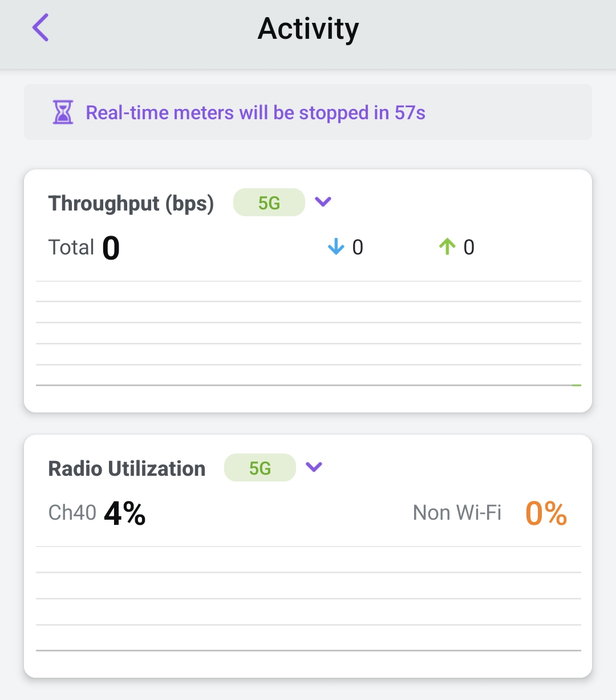
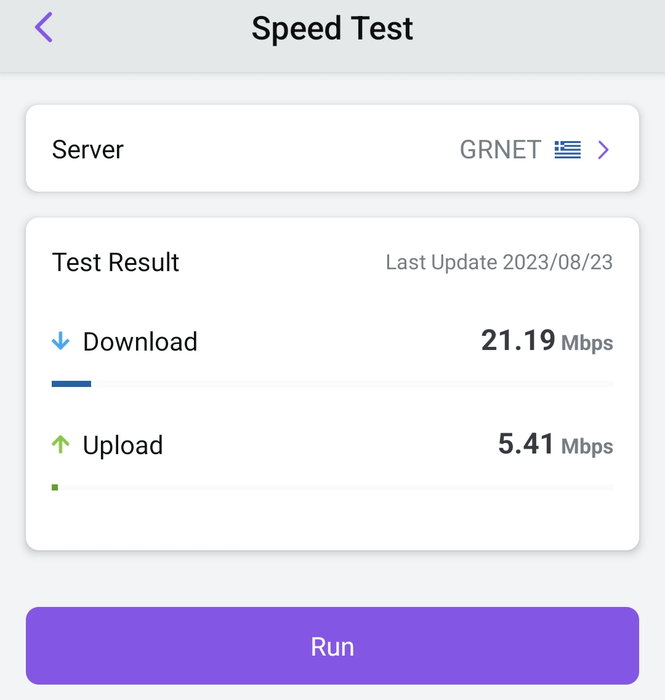
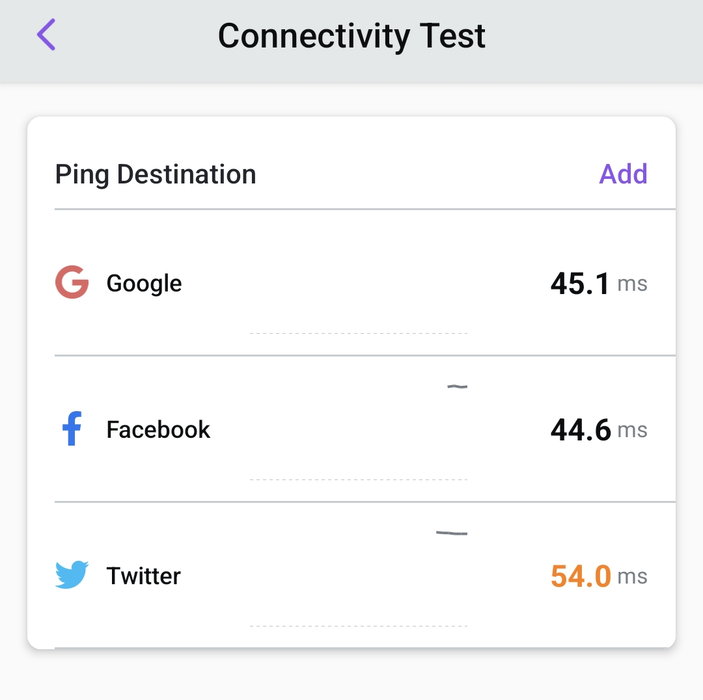
At the Wifi tab, you can find pre-configured Wi-Fi networks or make a new one.
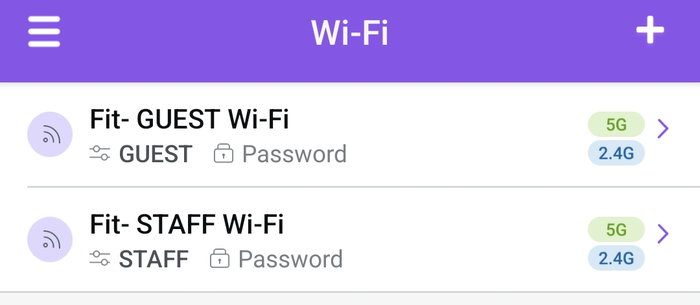
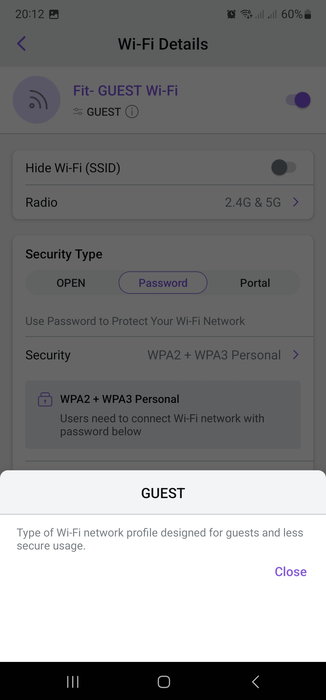
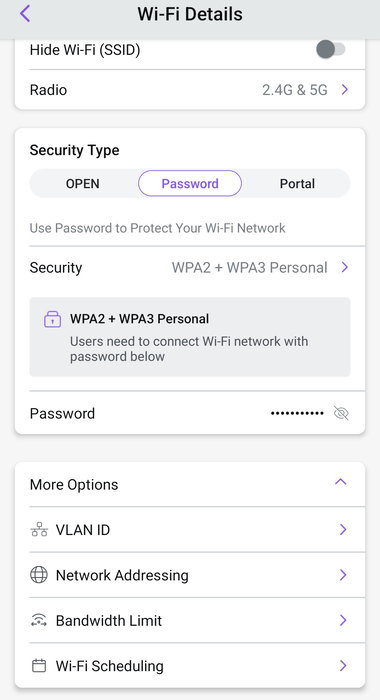
Under the clients area, you can find the connected clients
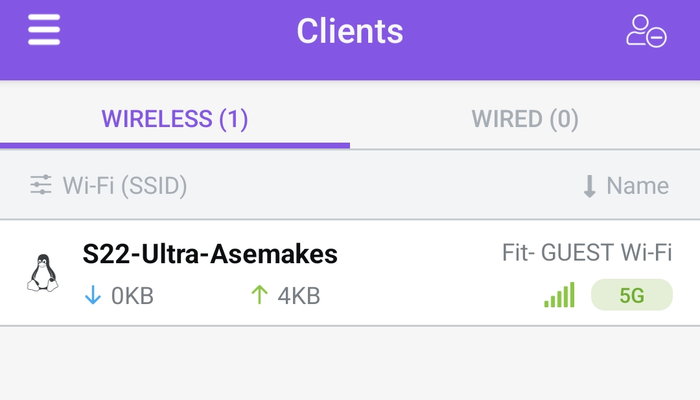
and get information about the device and perhaps block it.
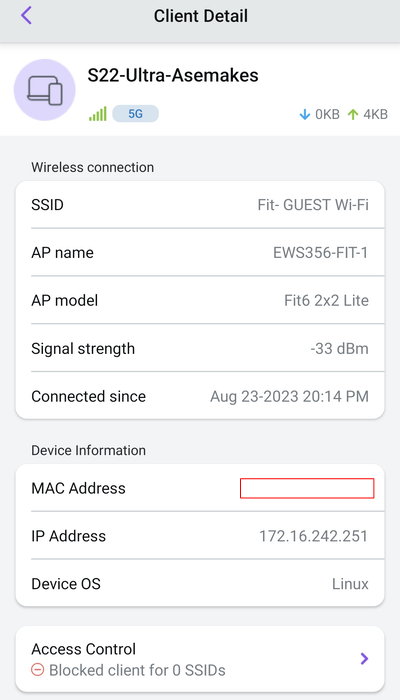
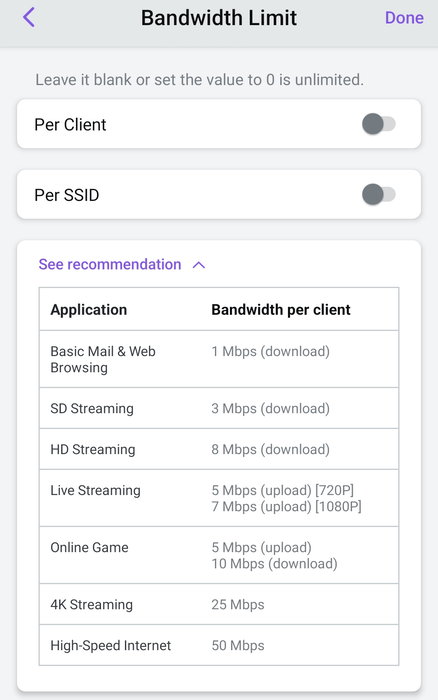
Admins can also limit the available bandwidth for the network.
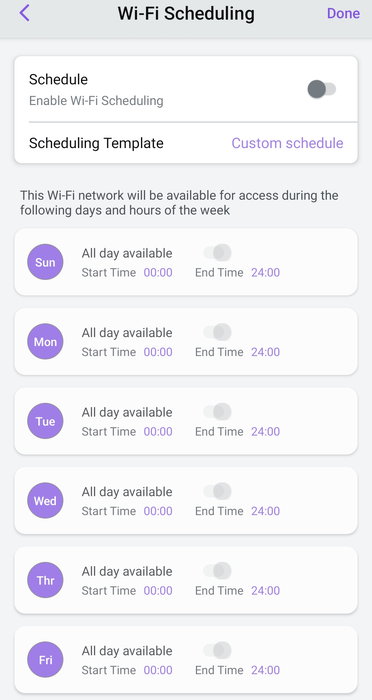
, while wifi can be scheduled
now let's create a mesh network. under the radio settings, there is a MESH setting, which by default is off
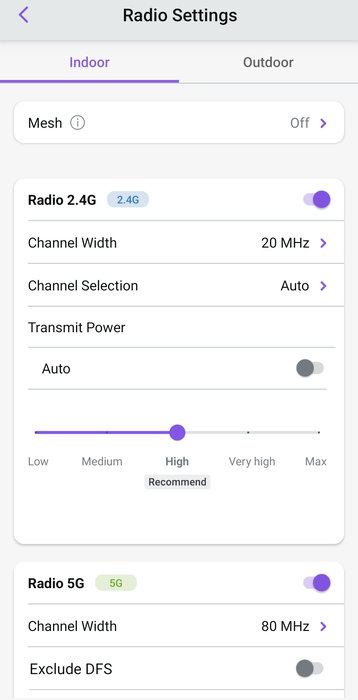
By enabling MESH you can either select 2.4GHz or 5GHz, not botch
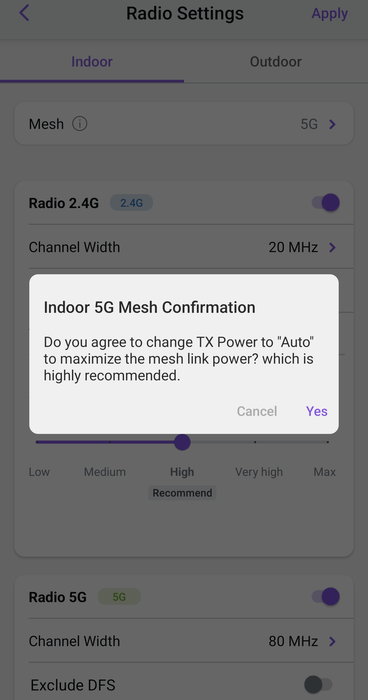
, while in this mode, the Radio 5G power is set at AUTO.
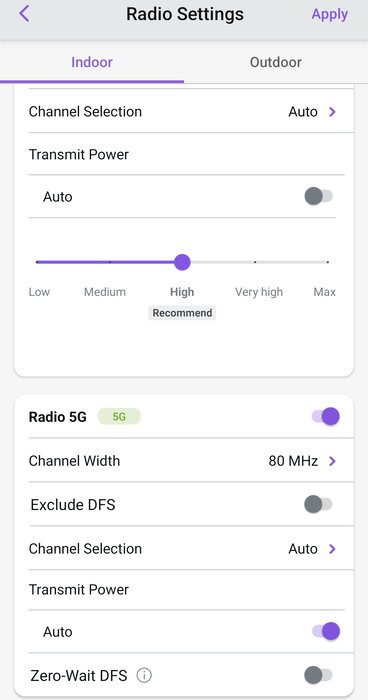
Users start to pair both devices under the same Wi-Fi network for MESH function, they need to have both connected via wire to the same switch. After some time, like 5 minutes, one device will remain with the wire to the switch, while the second AP will be moved to the preferred location. There it can be powered via the included DC12V adapter. When both APs are synced, both will blink their LEDs with a blue color.
Review Pages
2. Retail Package
3. FitXpress App
4. Operation - Features
5. Advanced installation
6. Conclusion


