Arctic Liquid Freezer III 280 ARGB
3. Installation
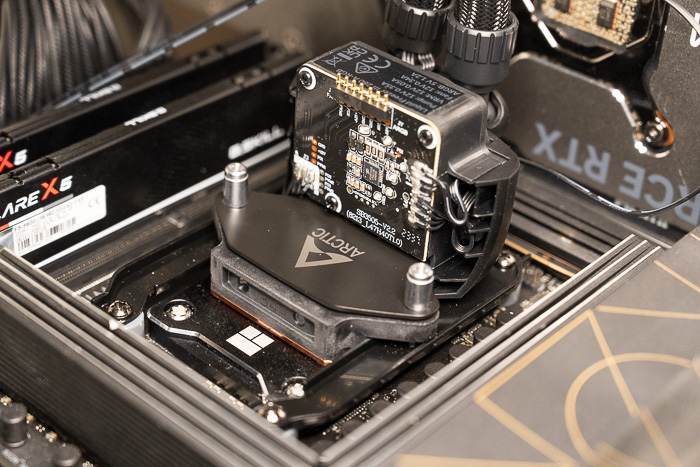
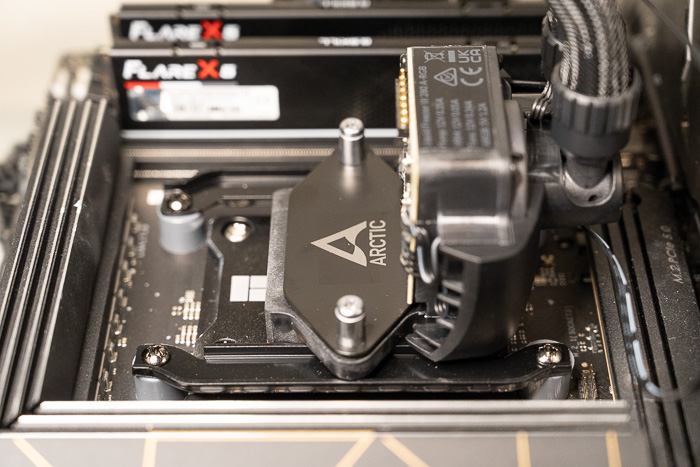
Installing the CPU cooler requires several steps and mostly we advise you to read the Arctic online guide for installing the product either for Intel or AMD platforms. We mainly tested this product with the AM5 platform, so we can comment on the procedure and the installation method. You need to remove the existing stock brackets and use spacers and screws to secure the mounting mechanism as follows. Note that with the Intel platform, you need to use the included mounting bracket, according to Arctic offers much better performance, compared with the stock Intel, this of course adds more steps for Intel users.


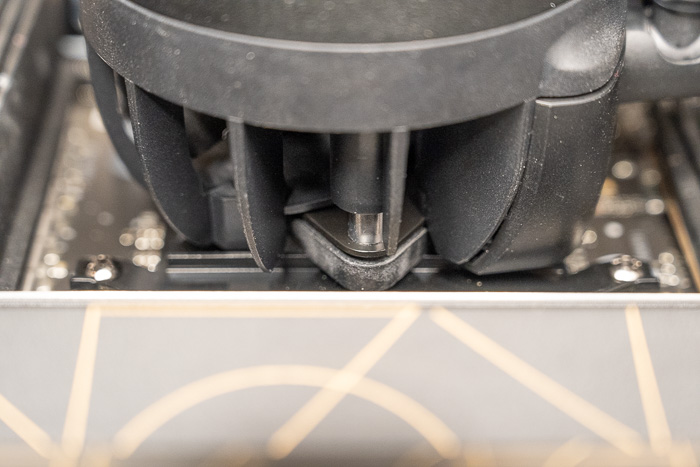
Something that users have mentioned, and we also found out is that "...you shouldn't fully tighten the two brackets, just so that they still have a little play. Then fit the pump head and tighten it. When the pump head is mounted, tighten the 4 screws of the bracket. This makes the work much easier. If you tighten the brackets directly, it may be that you will only be able to fit the pump head screws with the greatest of effort..."
For those unsure about using the 3-connector header, the first two labeled CPU and PUMP go to their corresponding headers on the motherboard (check your motherboard manual for the locations). The third, labeled VRM, is the fan that sits on top of the cooling block designed to blow air down at the VRM coils. The VRM jumper simply connects to any spare fan header (again, check the mobo manual for the location of spare fan headers). Don't forget to configure BIOS to PWM fan mode for the pump, fan, and VRM. While one cable allows, individual control of the components (3 Signals), the other will make control everything with a single PWM-signal.
