Asus P6T Deluxe Vs Foxconn Renaissance
6. Foxconn Renaissance - BIOS
Review Pages
2. Asus P6T Deluxe/OC Palm Edition - Opening the box
3. Asus P6T Deluxe/OC Palm Edition - BIOS
4. Foxconn Renaissance - Specifications
5. Foxconn Renaissance - Opening the box
6. Foxconn Renaissance - BIOS
7. Testbed
8. Benchmarks - Everest Ultimate Edition, SiSoftware Sandra
9. Benchmarks - PCMark Vantage, BAPCo's SYSmark 2007 Preview
10. Benchmarks - MAXON CINEBENCH, x264 HD Benchmark, TMPGEnc 4 Xpress
11. Benchmarks - SuperPI, wPrime
12. Benchmarks - 3DMark 06, Crysis v1.2
13. Overclocking tests - Asus P6T Deluxe
14. Overclocking tests - Foxconn Renaissance
15. Conclusion
The BIOS interface of the Foxconn motherboard is based on American Megatrends. In order to flash the BIOS you should do it under DOS (either using floppy or USB stick), which is not very convenient.

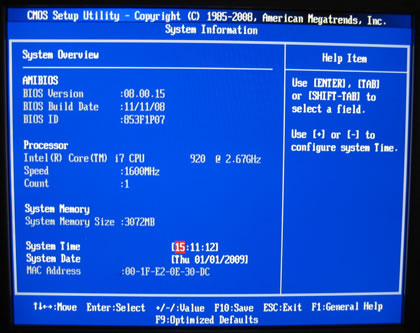
The System Information tab provides some info about the used BIOS and processor's speed.
Under Advanced Chipset Features, we can configure the USB and PCIe settings.

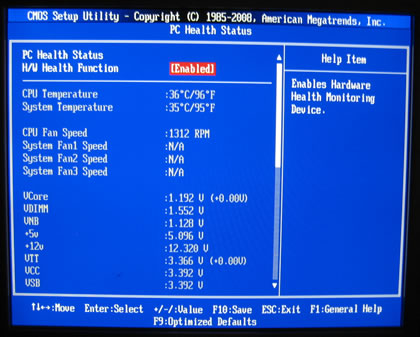
While under the Health tab we find the usual temperature/voltage readings, nothing special here:
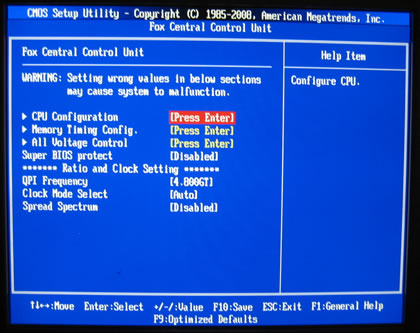
All the "good" stuff comes under the Fox Central Control Unit. The first screen shows various sub-menus with understandable content, although a single screen that would include all these settings would be more convenient and easy for the user.
Under the CPU Configuration tab we can see the CPU information and also enable/disable the C1E function.

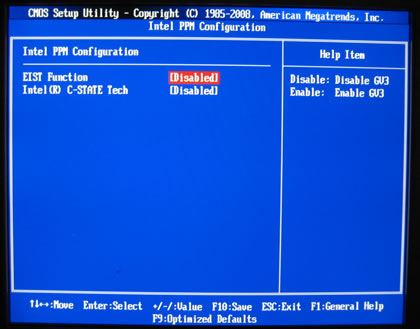
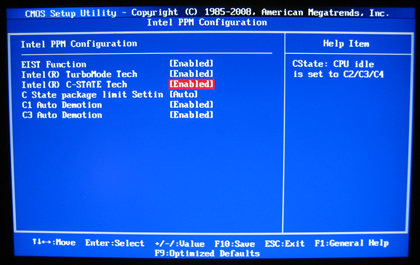
The Intel PPM tab has two more options like the Enhanced Intel SpeedStep technology (EIST) that allows the system to dynamically adjust processor voltage and core frequency, which can result in decreased average power consumption and decreased heat. Enabling it will unleash the turbo function, while the C-State Tech option should be enabled (disabled by default) to lower the CPU temperature at idle mode. However when overclocking both functions should be disabled in order to get higher speeds.
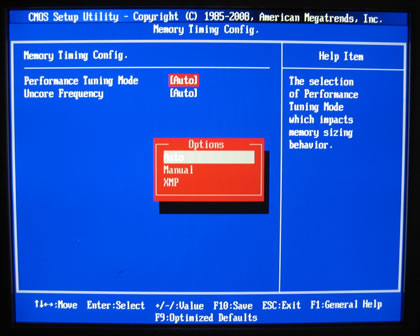
Under the Memory timing config tab you can select among the Auto, manual or with XMP options.
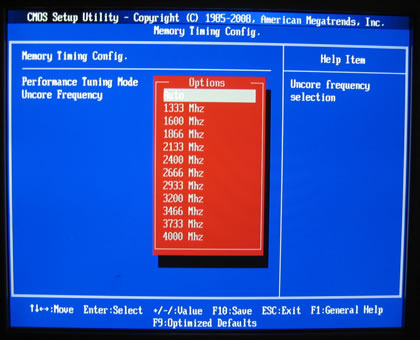
The Uncore Frequency should be probably left at the Auto mode:
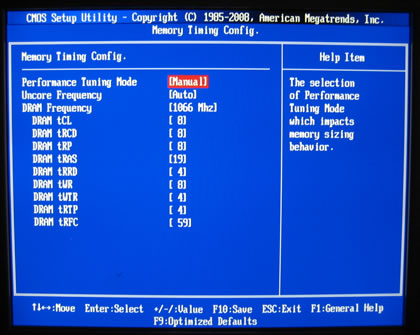
At Manual mode you can select the DRAM Frequency and memory timings. We noticed that after manually setting the DRAM frequency at 1333MHz with 1.65V and CL9, the system would boot. However, our settings were ignored and after booting up the system's memory was still running at 1066MHz.
The only way to overclock the memory was under Windows, using the Fox One software.

Let's now see the Voltage control settings. Foxconn has added several warnings related to the vCore and Memory voltage settings that should not exceed Intel's standard values:
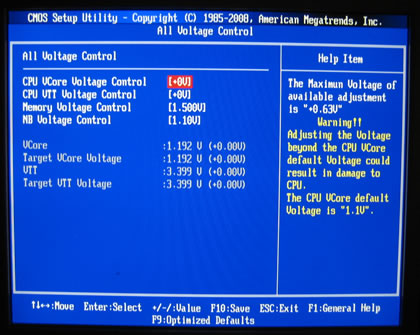
On the bright side, every change you make in the CPU Voltage Control automatically updates the corresponding values of the related parameters (VCore, VTT, etc) placed on the same Window, so it gives you an idea of what you can expect from each setting as you are experimenting.

You can also overclock the system by selecting the "manual" mode under the Clock mode settings. This acts somehow like the FSB setting you may have experienced with your previous C2D processor, meaning that it would overclock your system.
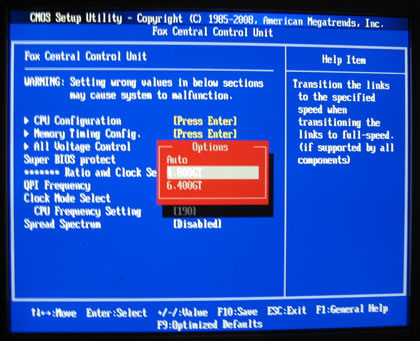
The QPI Frequency should also be left to Auto mode.
Review Pages
2. Asus P6T Deluxe/OC Palm Edition - Opening the box
3. Asus P6T Deluxe/OC Palm Edition - BIOS
4. Foxconn Renaissance - Specifications
5. Foxconn Renaissance - Opening the box
6. Foxconn Renaissance - BIOS
7. Testbed
8. Benchmarks - Everest Ultimate Edition, SiSoftware Sandra
9. Benchmarks - PCMark Vantage, BAPCo's SYSmark 2007 Preview
10. Benchmarks - MAXON CINEBENCH, x264 HD Benchmark, TMPGEnc 4 Xpress
11. Benchmarks - SuperPI, wPrime
12. Benchmarks - 3DMark 06, Crysis v1.2
13. Overclocking tests - Asus P6T Deluxe
14. Overclocking tests - Foxconn Renaissance
15. Conclusion


