be quiet! dark rock pro 4
2. Retail Package
The be quiet! Dark Rock Pro 4 is a BIG cooler. The retail box is also big and securely includes the CPU cooler and its accessories. The product costs €86.90 / £80.99 / $89.90 MSRP (3 years warranty), but you can find it around 75 euro at retail market. The product supports many Intel (1150 / 1151 / 1155 / 1156 / 1200 / 1366 / 2011(-3) Square ILM / 2066) and AMD (AM2(+) / AM3(+) / AM4 / FM1 / FM2(+)) sockets. It clearly aims for enthusiast/overlockers who wish nothing but the best from an air cooler.

Opening the box unveils the contents, the CPU cooler is at the middle and accessories and everything is well organized and protected
- 1x CPU cooler
- 1x be quiet! Silent Wings (135mm fan)
- 1x be quiet! Silent Wings 3 (120mm fan)
- Several user manual languages (DE, EN, ES, FR, PL, RU)
- 1x thermal compound
- 1x Intel Mounting Kit
- 1x AMD mounting Kit
- 1x Y-split fan cable
- 4x mounting brackets for fan
- 1x 16cm long screwdriver
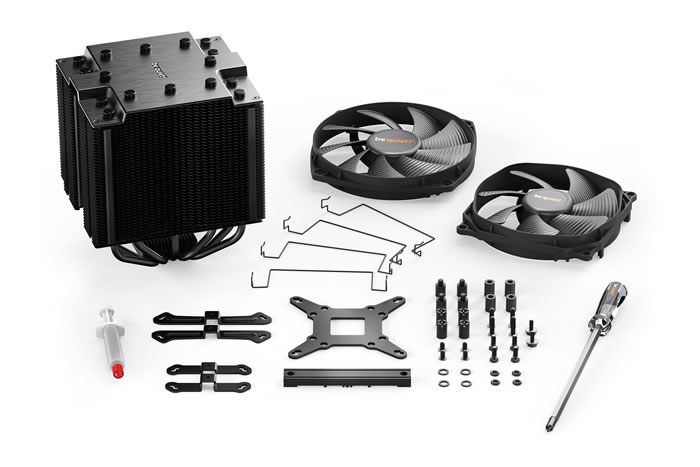
The be quiet! Dark Pro 4 includes two pre-installed 120mm and 135mm fans for high performance. Users can add a third 120mm fan in case they want for the ultimate setup.
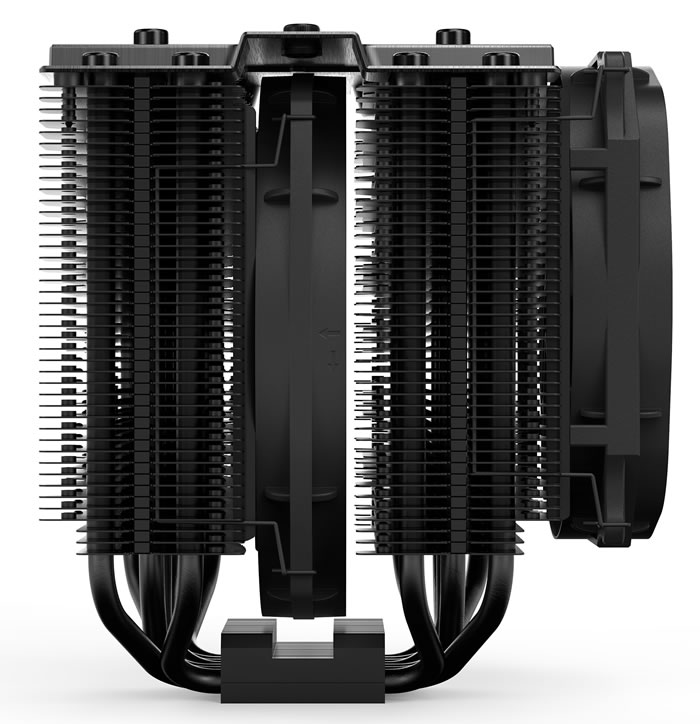
The CPU cooler is big and users must use the online motherboard is compatible website to be 100% sure about compatibility.

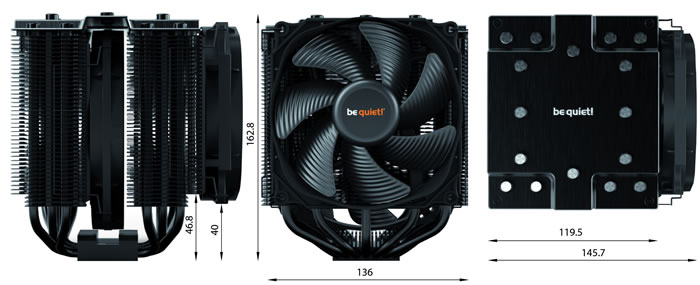
The exact dimensions are found below. You would need around 16.3cm height for the cooler and around 14.57cm width.
The base of the CPU cooler is covered via a protecting sticker unveil a perfectly bottom for the CPU to come in contact. The base is CNC machined and it has Copper, while there are seven heat pipes with 6mm diameter for passing heat from base to the core of the CPU cooler.

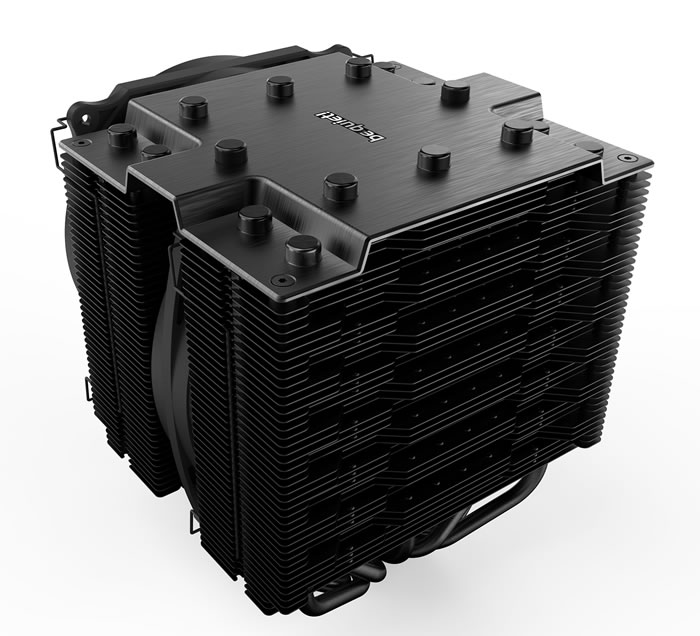
The top includes the be quiet! logo, while the CPU cooler is total black, nice!
Installing the CPU cooler requires several steps. For our tests we used an AMD4 CPU (AMD Ryzen 5600X), so we had either view the online video from be quiet! or simply read the included manual some basic steps are mentioned below:
1. To permit mounting of the cooler please remove both the plastic retainers of the AMD retention module. The factoryfitted backplate affixed to the rear side of the motherboard will be needed for subsequent installation of the cooler.
2. Place the 4x AMD spacer nuts onto the backplate bolts protruding through the front side and affix both short AMD mounting brackets with the AMD backplate screws.
3. First remove the protective foil from the underside of the cooler. Spread the thermal paste on the surface of the CPU. The amount supplied is sufficient for one or two applications.
4. Position the cooler mounting bridge centrally on the cooler. Next place the cooler unit onto the CPU. Loosen both heatpipe caps that are found in the middle of the topside of the cooler
5. Insert the Intel/AMD mounting bridge fastening screws from above into the cooler mounting bridge and then screw these alternately tight. You can use the cross-tip screwdriver for this. Subsequently retighten both heatpipe caps on the topside of the cooler.
6. Fasten the 120mm fan using fan clips onto the front
side of the cooler. Slide the 135mm fan between the two
heatsinks and also fasten this with fan clips. Connect
both fans using the Y cable. Connect this to the CPU
fan connector on the motherboard.


