Shuttle SP-45H7
4. Installing the components
Review Pages
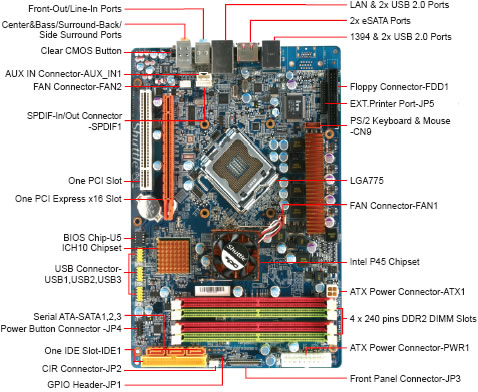
For our tests, we installed a 3.5" HDD and an optical drive. We used the pre-installed SATA and power cables, so everything is tidy and there is lot of room space under the storage bay and the CPU area. The first step is to install the memory modules and the CPU.

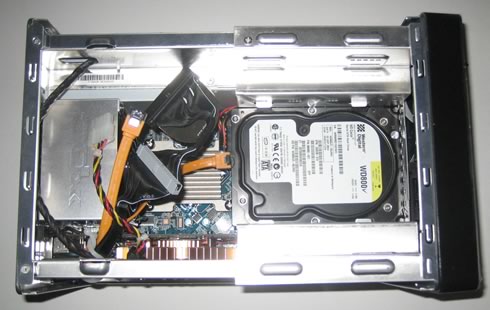
Getting the CPU cooler installed is very easy and is should take you no more than a few seconds. The 3.5" hard disk drive can be also easily secured in the drive bay.

The final step is to add the graphics card. We used the Asus 9600GT Top, which is compact enough to fit. Unfortunately, there is not enough space for adding a typical passively cooled graphics card.

The final step is to install a 5.25" optical drive.

Review Pages


