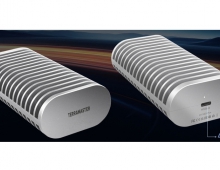
Terramaster F4-210 NAS Server
4. TOS System
Review Pages
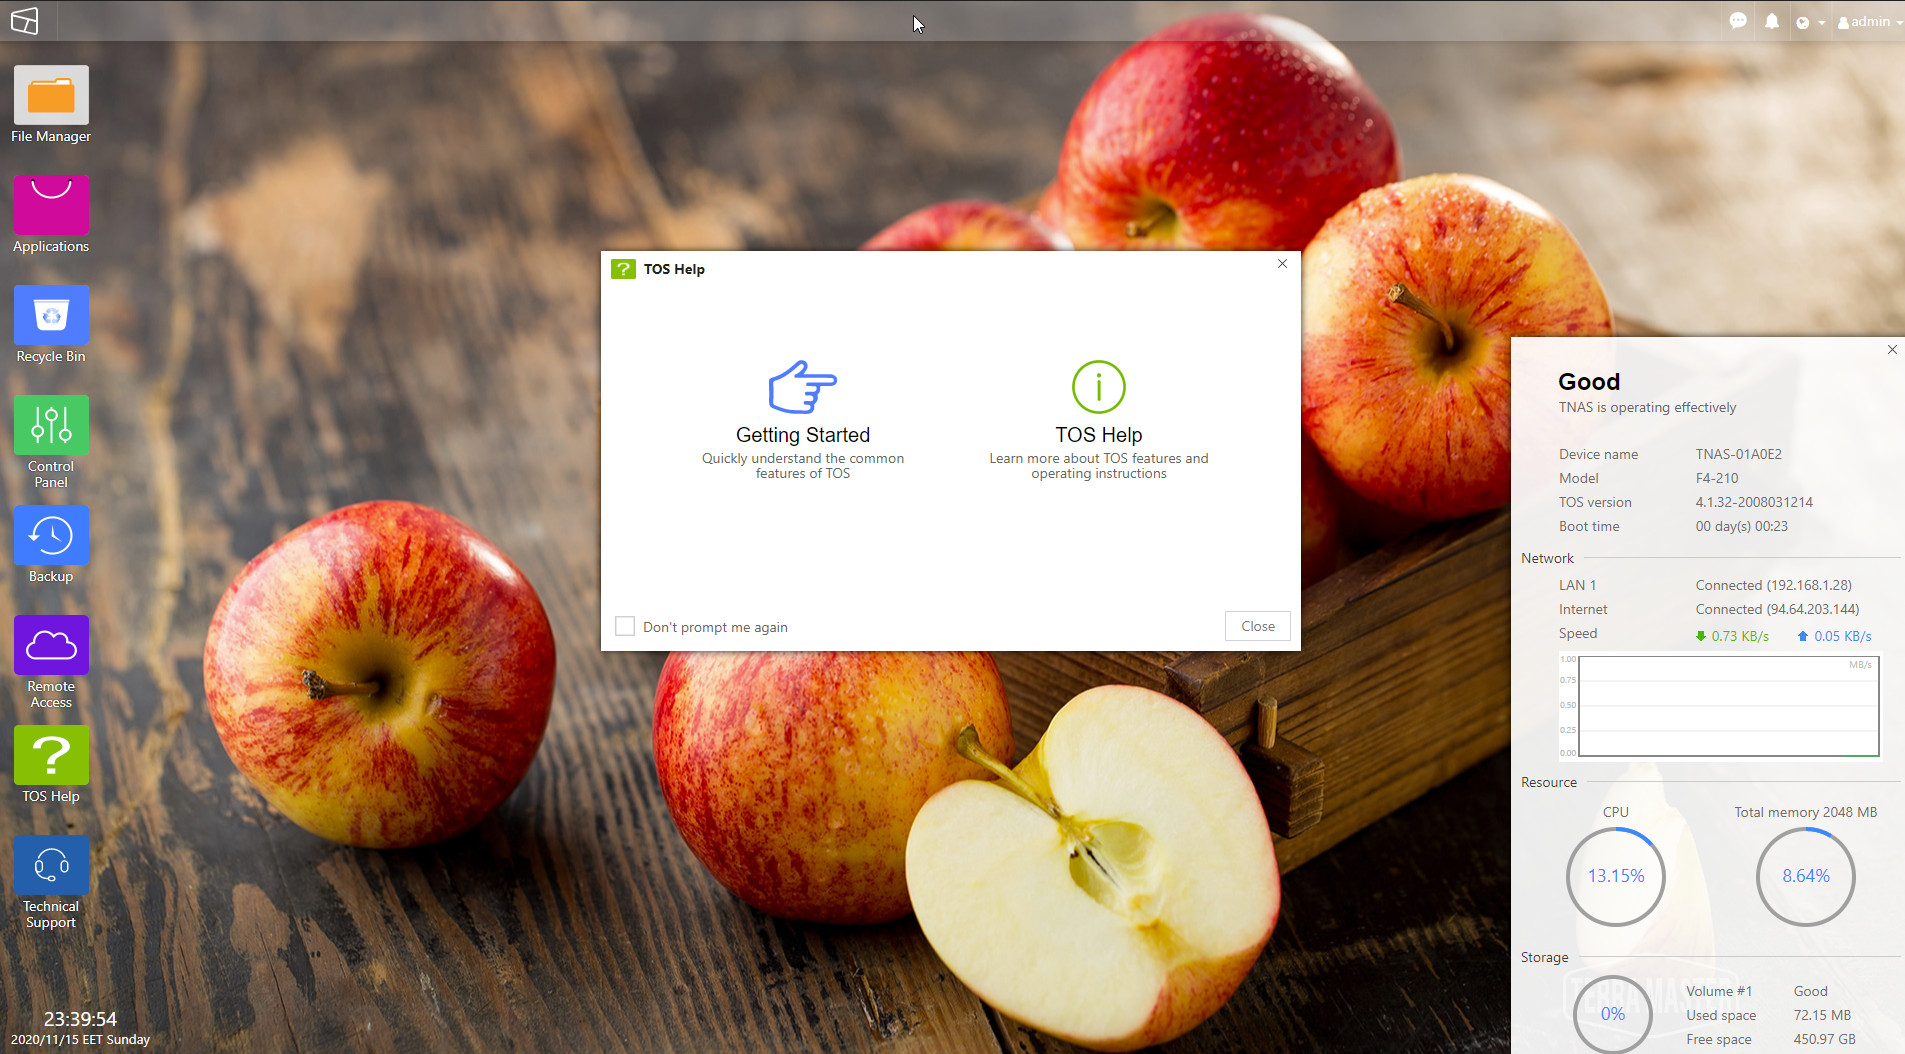
After the fiinal reset, and entering the admin password we set in previous steps, user will see the main NAS page via the main system browser. The system can be located via the http:// IP address of the NAS. The layout is nice and easy to understand. At the left area there are several folders for different operation, while at the right area, there are severeal statistics for the NAS server.
After navigating at the Terramaster's Forums, we found a newer revision of the TOS system TOS 4.2.06 with the following Release Notes:
1. Optimized the patterns of SSL certificate;
2. Optimized the patterns of fonts at Control Panel;
3. Canceled the feature of uploading documents to TOS desktop;
4. Fixed the issue of Apply button at UPS window;
5. Optimized the searching function at TOS Control Panel;
6. Fixed the issue of password format at password resetting page.
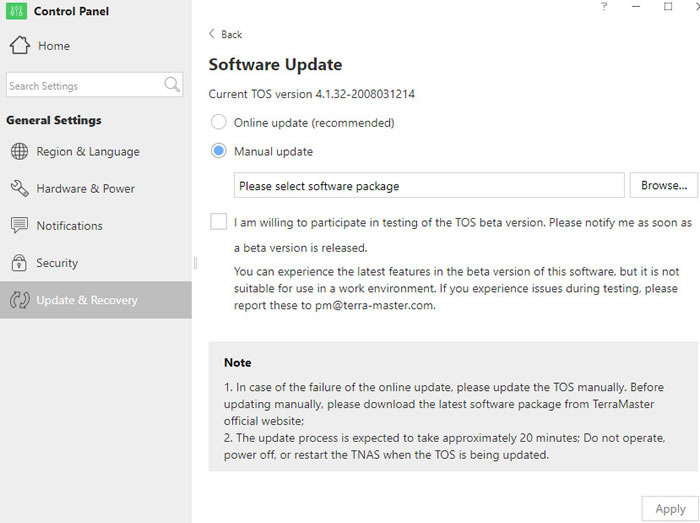
Users can upgrade the system via the Control panel:
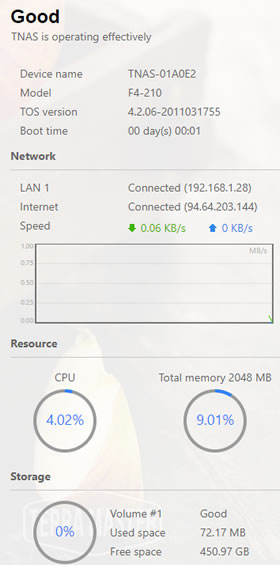
After a new reset, our box upgraded to the 4.2.06 build. The bottom panel also gives several useful information about the local IP, the network IP, the Download/Upload rate and CPU usage:
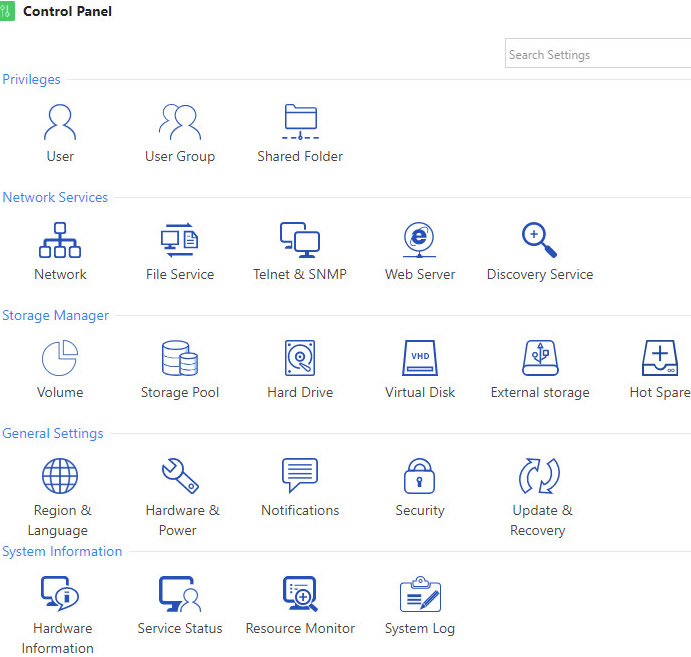
Lets now navigate through the Control panel:
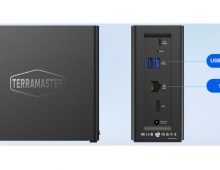
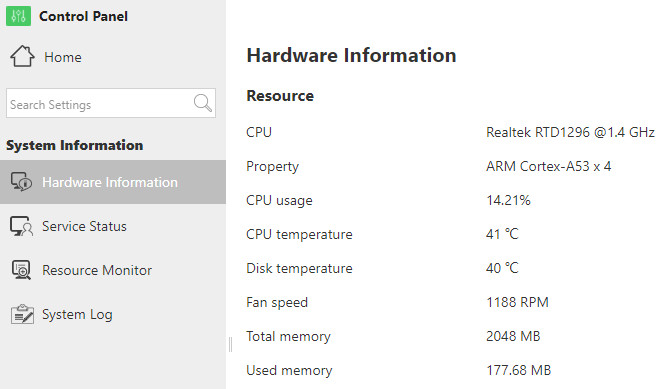
Opening the Hardware information will give us some details about our system. The F4-210 is based upon the RealTek RKD1296 with 2GB DDR4 RAM.
At default many services have be auto-enabled, users can disable them afterwards:

Users can also set the FAN working mode and if and when the HDD disks will sleep

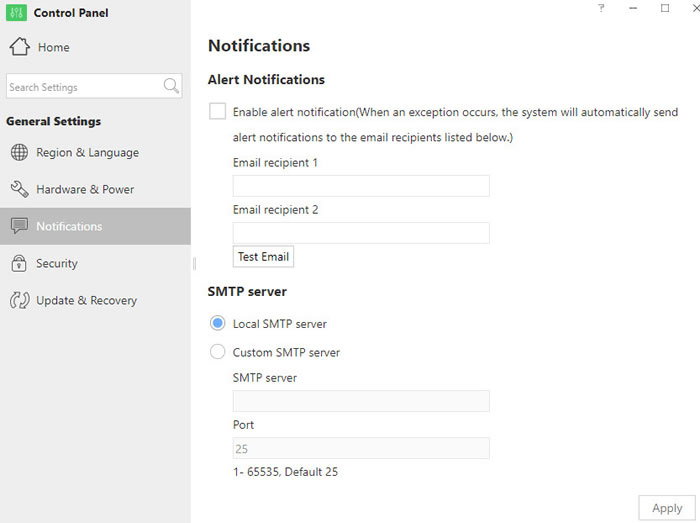
Users can set alert notifications:
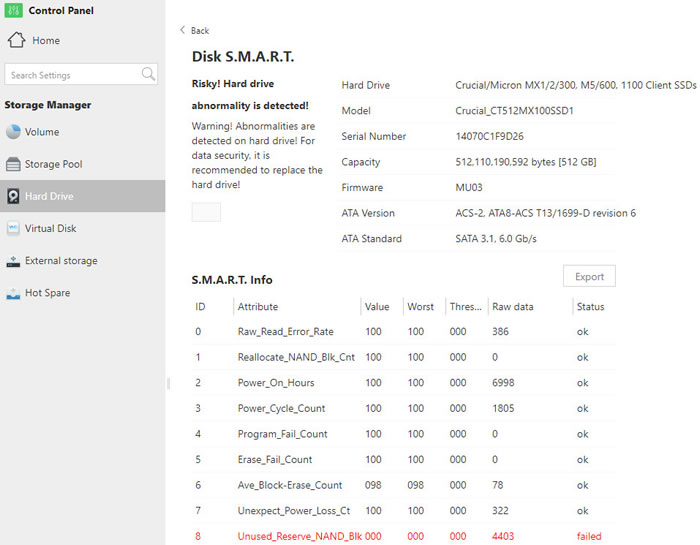
And get more info at the created volumes:
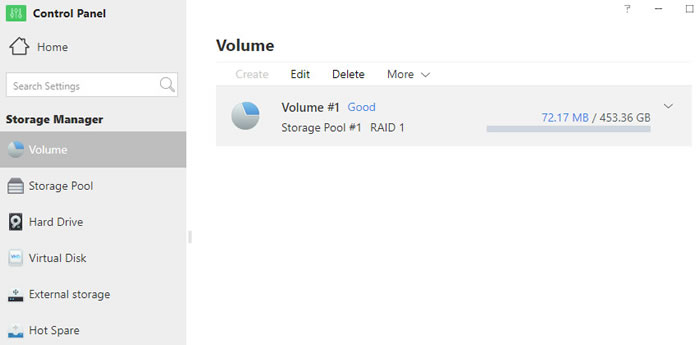
In our case, it seems that due to error over SMART, the device posts an alert for our data:


Even the SSD perform just great, its nice to see that Terramaster takes SMART in account to prompt users for any possible error.
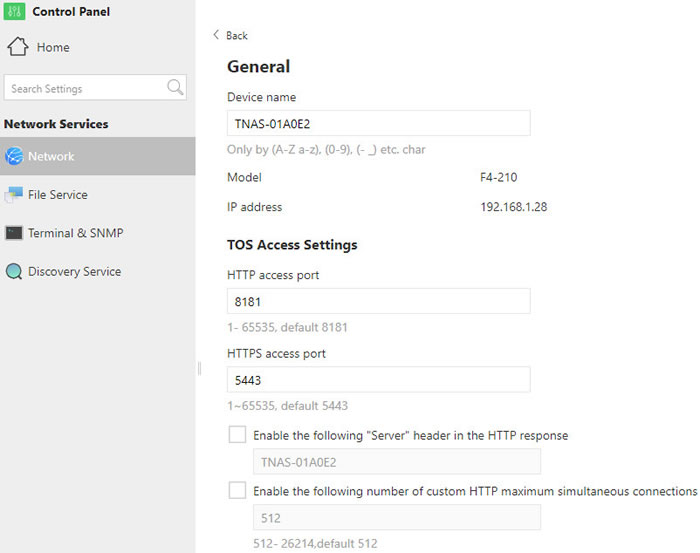
Users can also change the device NAME and other settings/services:
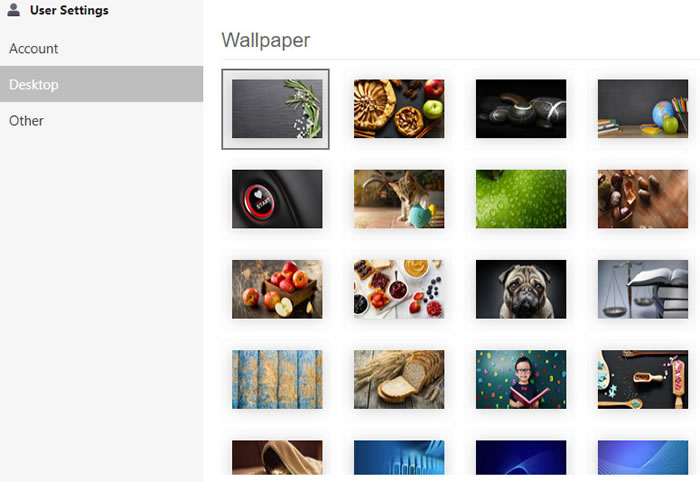
Lastly, users can change the password and the desktop wallpaper.
Users can view their files at the device with three methods
Method 1: Access through TNAS desktop application. Click File Manager and input user’s name and password to access TNAS shard folders. Users can choose to log in either as admin or other users.
Method 2: Access through IP address. Double click My Computer on computer desktop, and directly input the IP address of TNAS such as \\192.168.1.100 in the address bar, then input user’s name and password to access TNAS shared folders. Query of the IP address of TNAS is available through TNAS applicatione.
Method 3: Access by creating a shortcut. For the purpose of easy access, users can create a shortcut for the TNAS shared folders. Operation method: Users can right click the blank space on desktop and select Create> Shortcut, and then input the IP address of TNAS such as \\192.168.1.100 in the pop-up menu to finish shortcut creation. Later, users can access TNAS shared folders by double clicking the shortcut and inputting user’s name and password.
Review Pages