be quiet! Dark Rock Pro 5
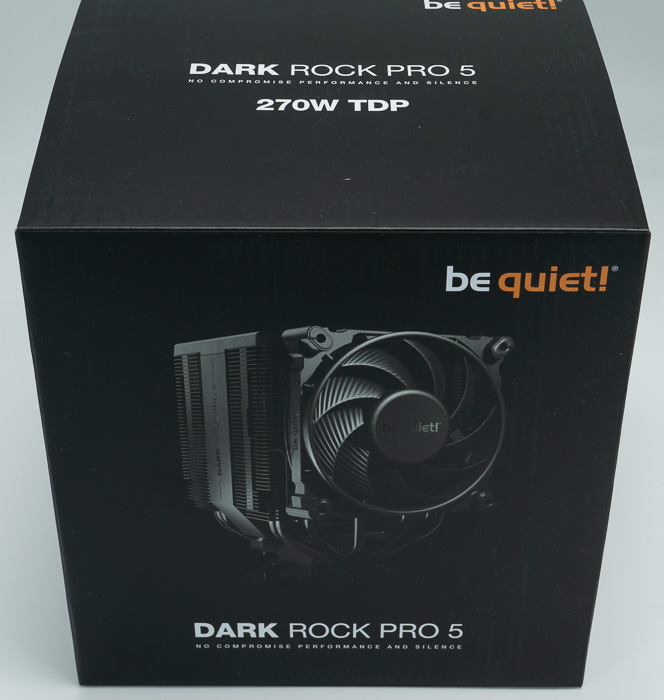
2. Retail Package
Comparing Dark Rock series we have the following specs
| Model | Dark Rock Pro 4 | Dark Rock Pro 5 |
| TDP (W) | 250 | 270 |
| Overall dimensions without mounting material (L x W x H), (mm) | 146 x 136 x 163 | 145 x 136 x 168 |
| Total weight (kg) | 1.13 | 1.29 |
| Socket compatibility Intel | 1150 / 1151 / 1155 / 1156 / 1200 / 1366 / 2011(-3) Square ILM / 2066 | 1700 / 1200 / 1150 / 1151 / 1155 |
| Socket compatibility AMD | AM2(+) / AM3(+) / AM4 / FM1 / FM2(+) | AM5 / AM4 |
| Number of fans | 2 | |
| Heatsink Dimensions (L x W x H), (mm) | 146 x 136 x 163 | 119.5 x 136 x 168
|
| Heatpipe number / Diameter (mm) | 7 / 6 | |
| Number of fins | 90 | ??? |
| Fan model | Silent Wings / Silent Wings 3 | Silent Wings / Silent Wings 4 |
| Fan dimensions (mm) | 135 x 135 x 22 / 120 x 120 x 23 | 135 x 135 x 25 / 120 x 120 x 25 |
| Price | 89.90 | 99.90 |
The Dark Rock Pro 5 seems improved in all major areas, it's bigger and heavier , has two fans vs one, and includes more heatpipes. Also, the price difference is not that high for someone to choose the Dark Rock 4 model.
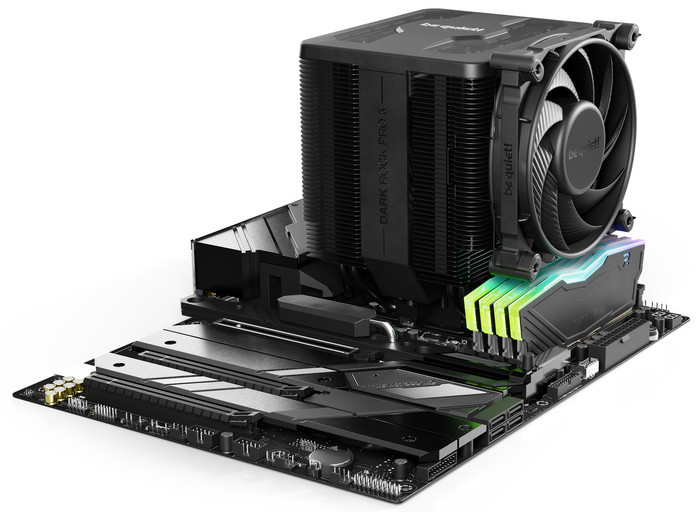
The be quiet! Dark Rock Pro 5 is a big-sized CPU cooler. The retail box securely includes the CPU cooler and its accessories. The product will cost $99.90 / €99.90 / £99.99. MSRP (3 years warranty), The product supports many Intel (>1700 / 1200 /1150 / 1151 / 1155) and recent AMD (AM5 / AM4) sockets.
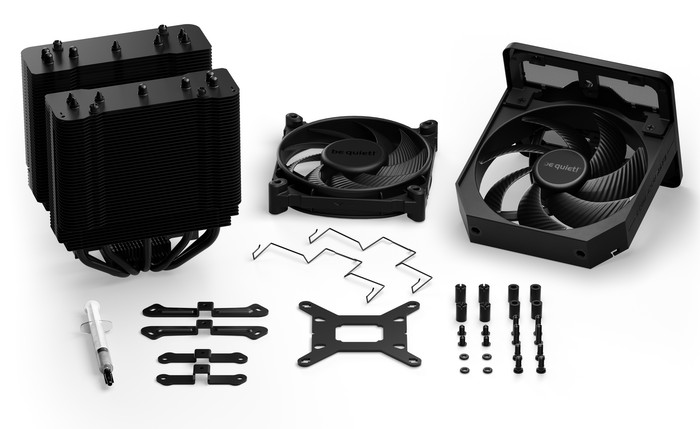
Opening the box unveils the contents, the CPU cooler is in the middle, and accessories and everything are well organized and protected
- 1x CPU cooler
- Several user manual languages
- 1x thermal compound
- 1x Intel Mounting Kit
- 1x AMD mounting Kit
- 1x long philips screwdriver
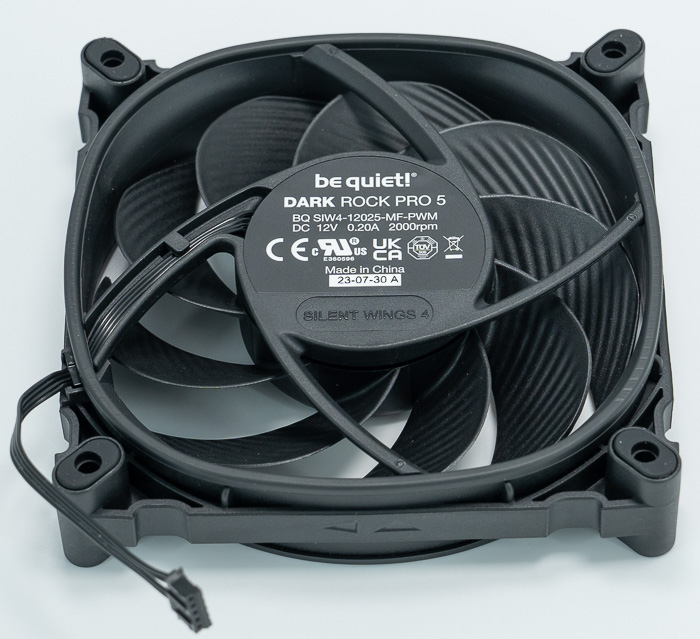
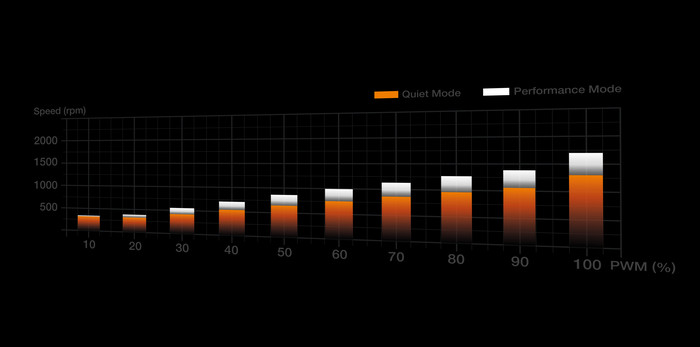
The product includes two fans, one Silent Wing 135mm and one Silent Wings 4 120mm fan, that can be tuned either for Quiet or Performance mode, via a switch at the top of the cooler.
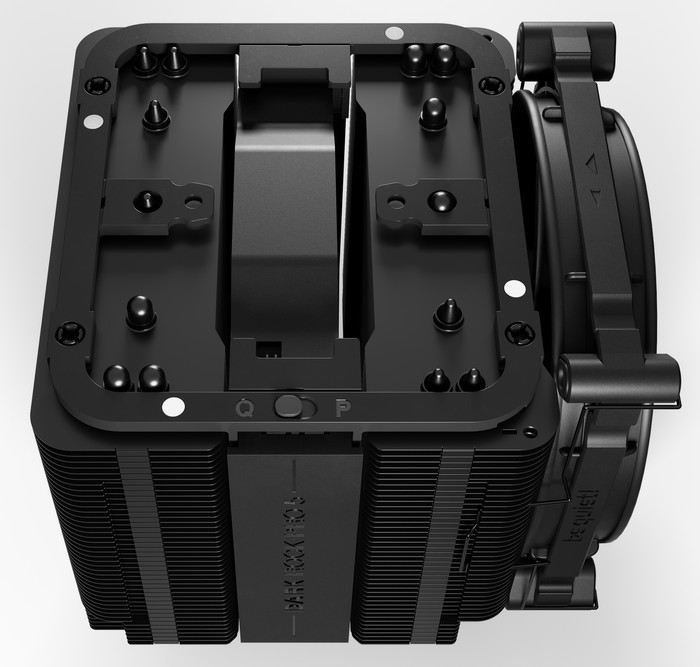
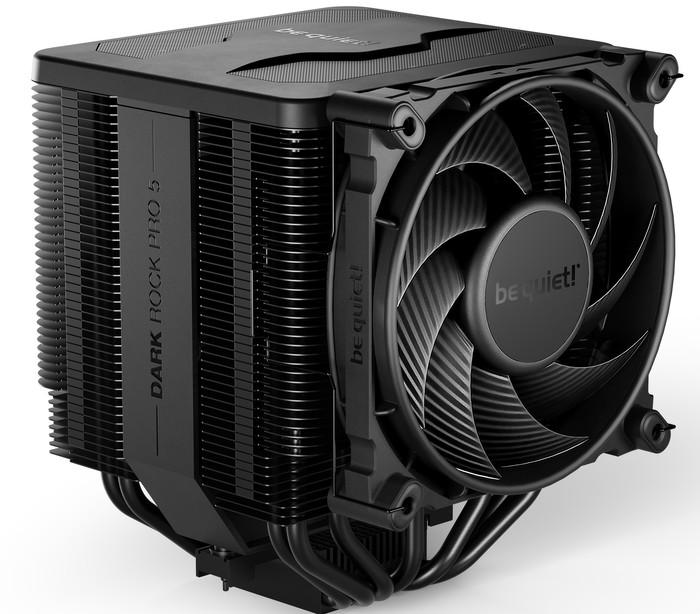
There aren't any mounting brackets for adding a third fan to this product. The CPU cooler is big and users must use the online motherboard-compatible website to be 100% sure about compatibility. At the top, there is also the be quiet! logo.
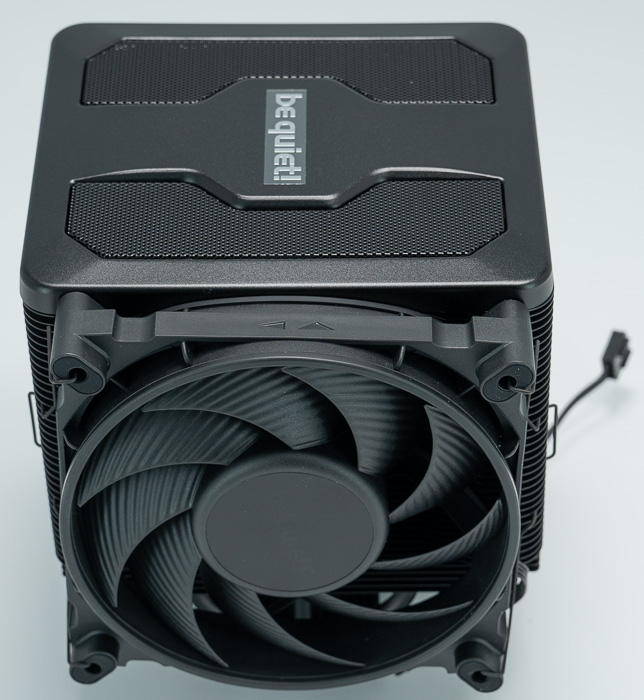
The exact dimensions are found below. You would need around 168mm in height for the cooler and around 145mm in width. There is a 45.5mm height clearance for the memory modules, which is a nice touch. If you find this not satisfying you can always move the front fan slightly upwards to make more room..

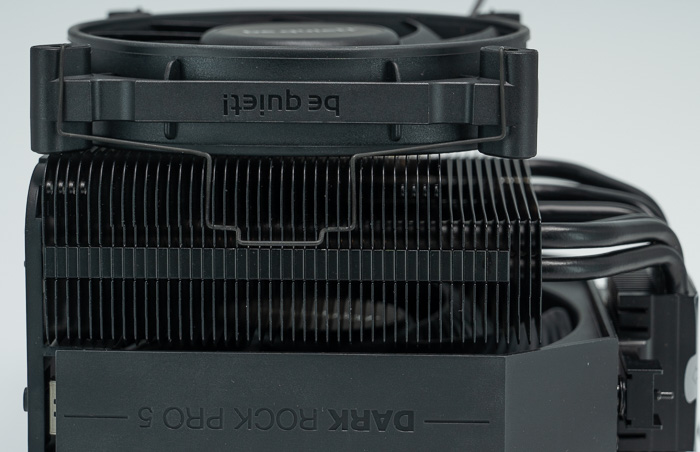
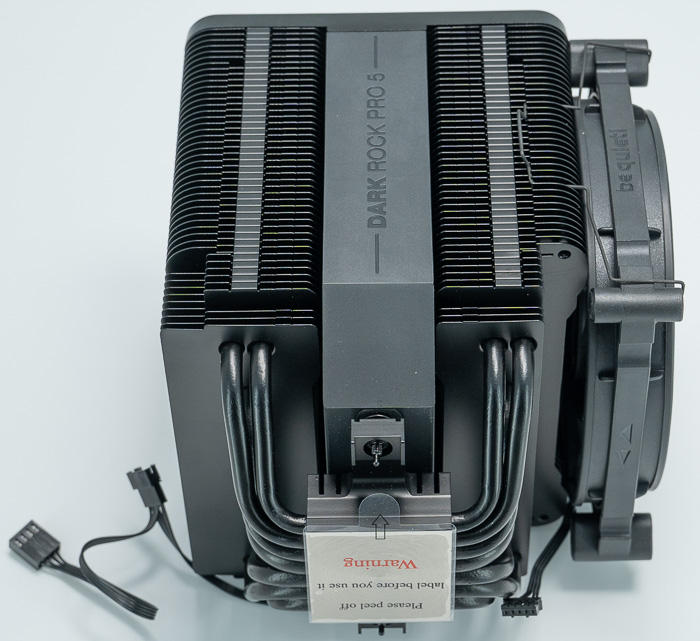
The Dark Pro 5 includes 7 heat pipes with Φ6mm dimension and the based is made out of copper to allow the use of liquid cooling as well. The fins are made out of aluminum and the product has a ceramic coating for protection and a matte stealth look.
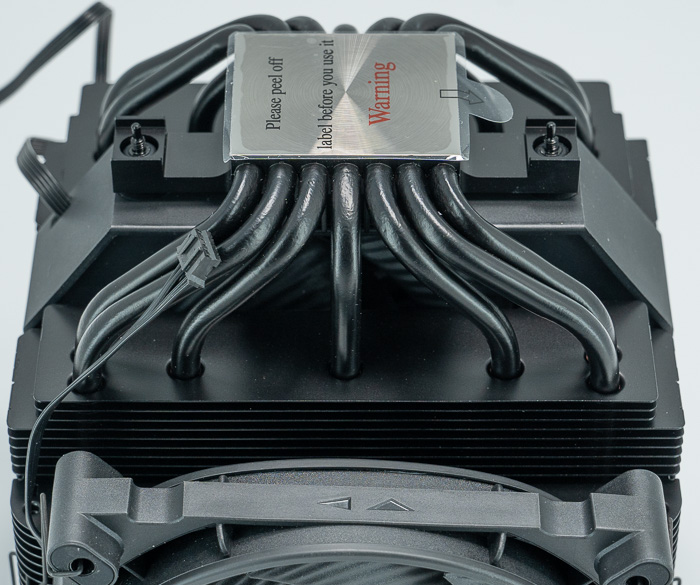
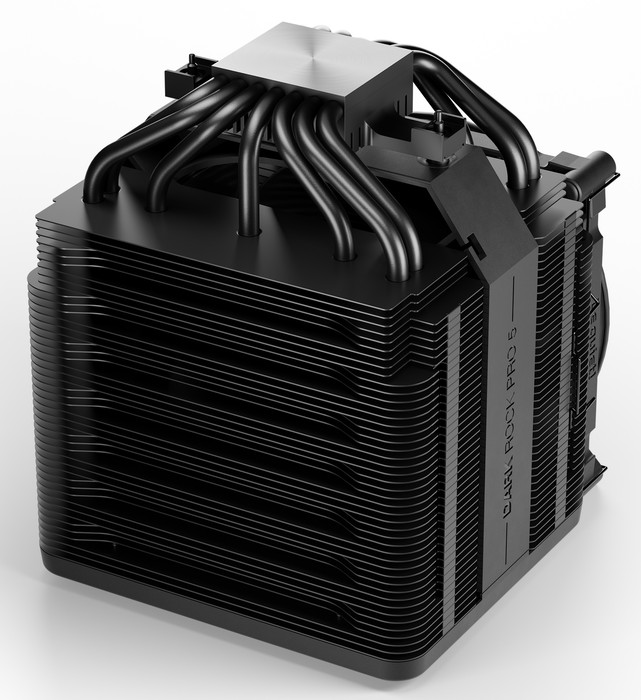
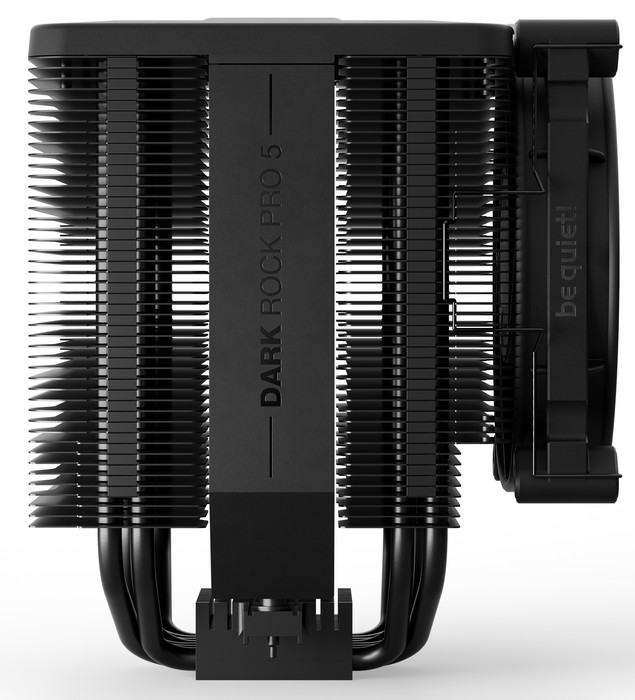
A side view of the cpu cooler
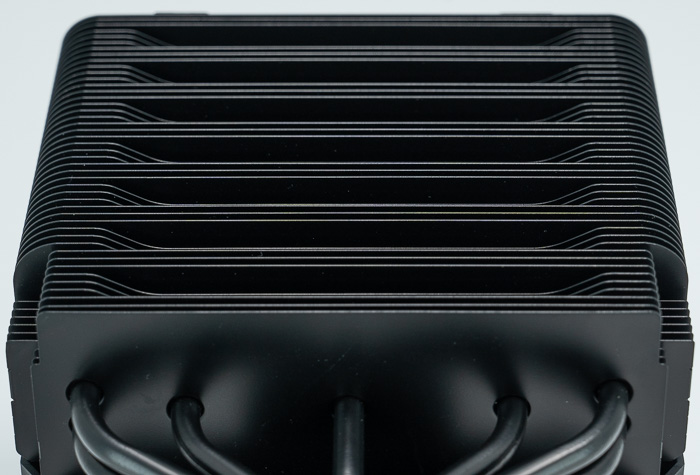
The back design of the fins
The product as we mentioned earlier includes two fans. The central 135mm fan, has a fixed metal bracket and snags magnetically at the main body, we haven't seen this choice before and we liked it since it offers a quick installation/removal of the fan. The front fan is attached via pre-installed metal pins. Both fans are connected in serial via a small controller of the central fan and they are labeled with Dark Rock Pro 5 tag. The connecting plug between both fans is not the usual 4-pin cooler jack, so changing for example the front 120mm fan would need a Y-splitter cable, which isn't included.
Installing the CPU cooler requires some steps. For our tests we used an AMD4 CPU (AMD Ryzen 5600X), so we had either view the online video from be quiet! or simply read the included manual some basic steps are mentioned below:
1. To permit mounting of the cooler please remove both the plastic retainers of the AMD retention module. The factory fitted backplate affixed to the rear side of the motherboard will be needed for subsequent installation of the cooler.
2. Place the 4x AMD spacer nuts onto the backplate bolts protruding through the front side and affix both short AMD mounting brackets with the AMD backplate screws.
3. First remove the protective foil from the underside of the cooler. Spread the thermal paste on the surface of the CPU. The amount supplied is sufficient for one or two applications.
4. Position the cooler mounting bridge centrally on the cooler. Next place the cooler unit onto the CPU. Loosen both heatpipe caps that are found in the middle of the topside of the cooler
5. Insert the Intel/AMD mounting bridge fastening screws from above into the cooler mounting bridge and then screw these alternately tight. You can use the cross-tip screwdriver for this. Subsequently retighten both heatpipe caps on the topside of the cooler.
6. Insert the main 135mm fan using some force and secure at the magnets. Connect both fans and connect the fan cable to the CPU motherboard. As a last step attach the top cover again via magnets.
