Shuttle SH81R4 mini PC review
3. A look inside
Let's have a look to the internals now.
Three thumb screws keep the external case in place and two additional screws are fastening the drive bay. With all those easily removed, you get clear look of the mainboard and the PSU.
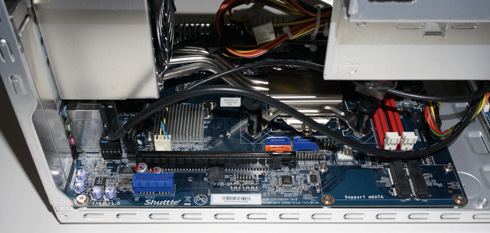
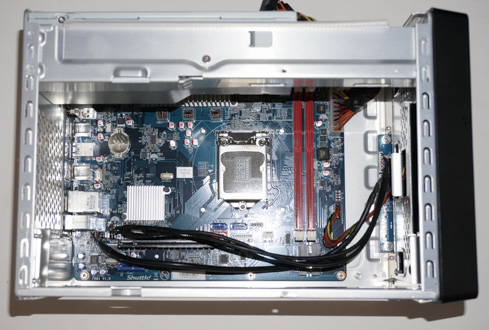
Shuttle's Mini-ITX mainboard (17x17 cm or 6.7x6.7 inches) is shown below. But the Shuttle chassis goes beyond the Shuttle mainboard, so you can easily upgrade to the mainboard of your desire without any modifications to the chassis.

The CPU socket is placed in the middle of the mainboard and supports Intel fourth-generation Haswell/Haswell Refresh Core i3/i5/i7, Pentium, and Celeron processors (LGA 1150). Remember that the XPC does not support unlocked processors and thus overclocking, so make sure to select the appropriate processor and memory for your set up.
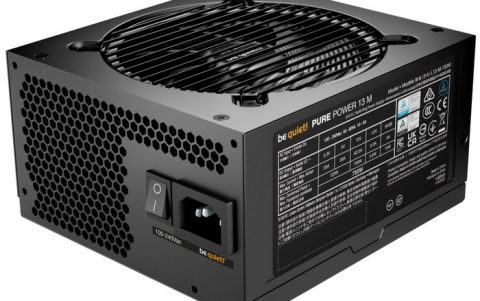
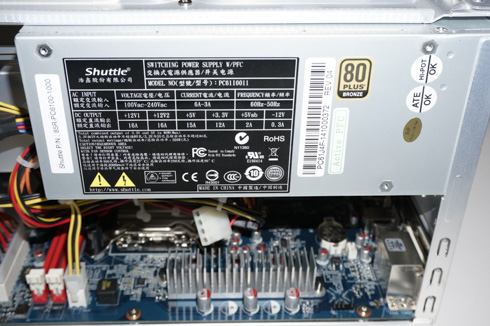
Shuttle’s SH81R4 is equipped with an 80 Plus Bronze 300W power supply, which cuts down on unnecessary power consumption and still should cover your needs. Shuttles provides a power consumption calculator on their web page in order to make sure the 300W PSU covers your needs, or you'll have to get the larger 500Watt PSU option.
The mainboard also includes a PCI-Express x16 v3.0 slot (PEG, for graphics cards only) and a PCI-Express x1 v2.0 slot, open-ended in case you need it. Note that there is only one 6-pin power cable for PCI-e cards so large graphic solutions may not fit here. There are also two expansion slots - one half-size that supports PCIe 2.0 and a USB 2.0 (WLAN cards) and a full-size that supports PCIe 2.0, SATA 3.0 (6 Gbps) and USB 2.0, mostly needed for mSATA solutions.
Keep in mind that you cannot have both slots occupied at the same time.
Below you see the 300Watt PSU:
The two (red) DIMM slots support up to 16GB (2x8GB) of DDR3 1600 MHz memory:

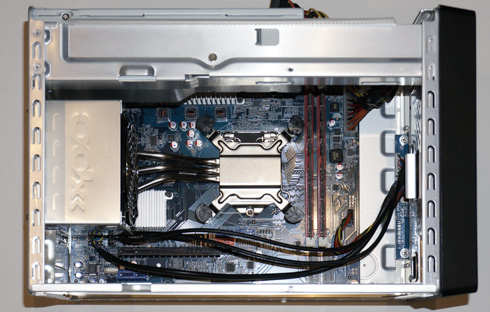
Below you see a top view of the XPC with the drive bay removed:
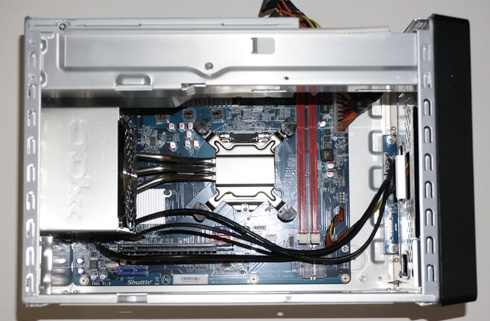
Shuttle XPC features silent operation with Shuttle’s I.C.E. 2 heat pipe technology. It uses convection cooling to dissipate heat away from and around the CPU. The I.C.E.2 copper tubes, coated in nickel for enhanced tube hardness and rust-proof protection, are filled with distilled water to effectively channel heat and provide efficient processor and chassis cooling.
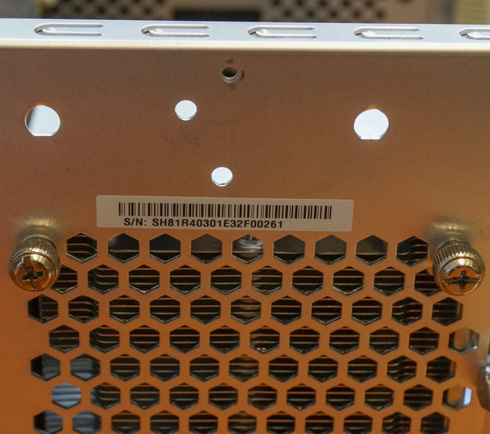
The cooler can be easily removed by removing four screws accessible from the back side of the device:

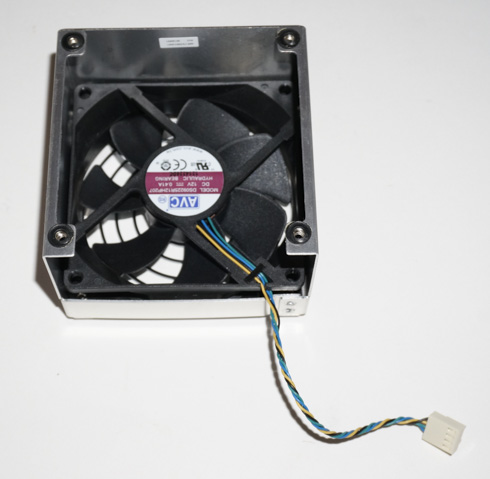
The 92mm PWM fan did its job well as you will see later in our benchmarks:
Installing the CPU and memory is very easy even if this is your first time you get your hand on the internal parts of an XPC. The included instructions are straight -forward and well-written so you should not have any problems here.
Installing the optional Wifi (WLN-C) modules is also easy and again, follow the included instructions.
Install the half-sized PCI-e card at the corresponding slot and secure it with the included screw:

Use the provided cables to connect the card with the two antennas:

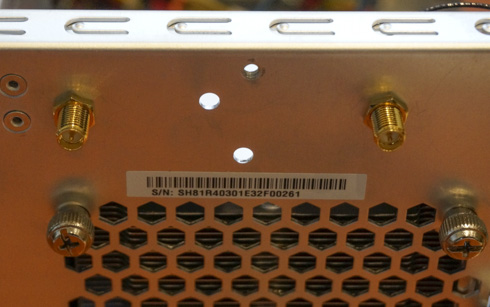

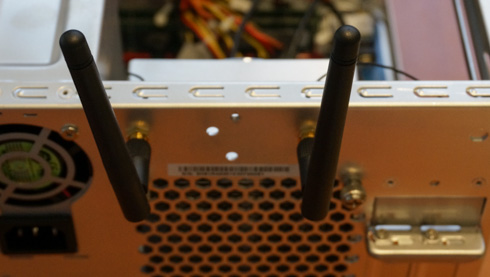
..and finally secure the external antennas:
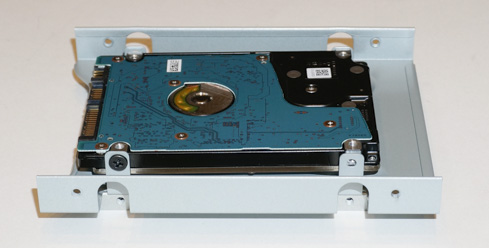
With an optional PHD3 accessory you can install a maximum of four 2.5” hard drives (or SSDs). But since the XPC provides only 3 SATA ports, you'll have to limit your configuration to only three storage devices.

