IOData AvelLink Player2
5. Setting up the player
Review Pages
2. Features
3. The package
4. Removing the screws
5. Setting up the player
6. The Players Menu - Page 1
7. The Players Menu - Page 2
8. Updating firmware - Page 1
9. Updating firmware - Page 2
10. AvelLink Server - Page 1
11. Online content
12. DVD Loader mod - Page 1
13. DVD Loader mod - Page 2
14. The Tests
15. Playback Tests - Page 1
16. Playback Tests - Page 2
17. Playback Tests - Page 3
18. Playback Tests - Page 4
19. Playback Tests - Page 5
20. Conclusion
IOData AvelLink Player2 - Page 5
- Setting up the player
Installation was straightforward. Simply connect the power, network and AV cables and press the power button on the front panel. The AvelLink includes a LCD screen on the front that displays the status for the player (I-O DATA when no media is inserted, tray ejected).

Here we can see the tray open with a disc loaded. Notice the AvelLinkPlayer logo on the front bezel

and "CD/DVD" message appears when the player is reading from the inserted CD/DVD media,

while the "Network" message displays when it reads over the ethernet.

When DVD-Video content is being played, the DVD-Video Logo appears.

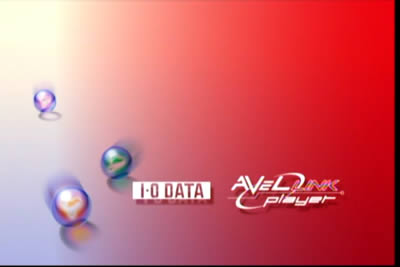
After a power boot, the user is presented with the splash screen on their TV display.

Review Pages
2. Features
3. The package
4. Removing the screws
5. Setting up the player
6. The Players Menu - Page 1
7. The Players Menu - Page 2
8. Updating firmware - Page 1
9. Updating firmware - Page 2
10. AvelLink Server - Page 1
11. Online content
12. DVD Loader mod - Page 1
13. DVD Loader mod - Page 2
14. The Tests
15. Playback Tests - Page 1
16. Playback Tests - Page 2
17. Playback Tests - Page 3
18. Playback Tests - Page 4
19. Playback Tests - Page 5
20. Conclusion


