ADS DVD Xpress Converter
3. Capture Wizard - Page 1
Review Pages
2. The Converter
3. Capture Wizard - Page 1
4. Capture Wizard - Page 2
5. Bundled - Bonus Software
6. Video/Audio files analysis
7. Video Quality Tests Page 1
8. Video Quality Tests Page 2
9. Video Quality Tests Page 3
10. Video Quality Tests Page 4
11. Video Quality Tests Page 5
12. Video Quality Tests Page 6
13. Audio conversion
14. Conclusion
ADS DVD Xpress Converter - Page 3
Capture Wizard - Page 1
- Getting Started Wizard
As soon as the Capture Wizard 3.5 is installed, and the program is run for the first time, you will see several configuration wizard steps to help you easily configure your device. The whole procedure consists of 5 steps as follows:

First of all, you will have to choose your location. This is done to determine one of PAL, Secam or NTSC video signals.

Then, you will have to indicate the video input of this device. We used both the S-Video and Composite video inputs for this review and we did not observe any difference in video quality.

The software needs to know where to store the movie file it will capture. This information is determined in this configuration step. The filename is automatically generated by the software so as not to overwrite previously recorded files as you keep capturing more and more media files.

You can convert video to DVD MPEG-2 format or VCD MPEG-1 format. The default bitrate for DVD format is 4Mpbs, but it can be changed through the software, prior to capturing.

You are ready to go. Just press the "play" button on your VCR or video device, and you can preview your video or even start recording immediately.
- Software/Device performance
In the following picture, you can see the main layout of the Capture Wizard 3.5 software. ADS Tech did some major work on this, making it as simple as possible. However, the software window is not resizable, and if you are using 1024x768 screen resolution, the main windows will cover all your screen. If you are using lower display resolution, you should change to 1024x768 for this device to work, or even higher.
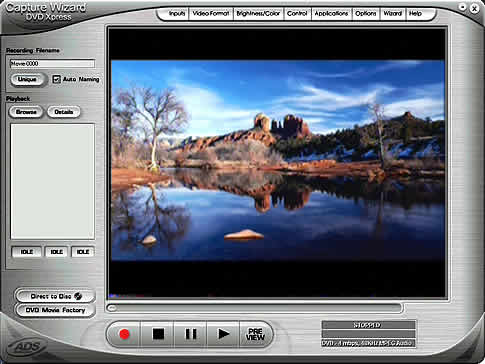
The software does not provides DVD Authoring capabilities, and is used only for simple captures to store media files to your hard disk for further editing/burning. If you made a mistake with the configuration wizard, or if you need to change anything from the default settings, you can do it through several "option tabs" located at the top of the main window.
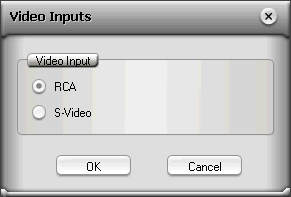
Using the Video Inputs tab, you can set the video input used by the device. If you choose the wrong video input, you will see a completely black preview window.
.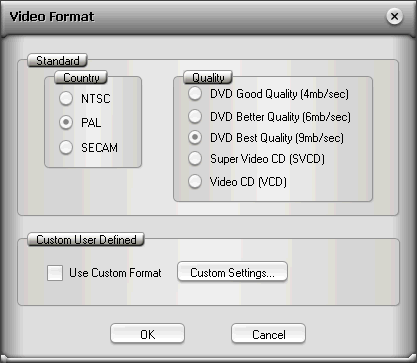
The Video Format option tab lets you change the video standard used (we used the PAL video standard throughout this review) and the video quality for the projected file. More advanced users can select "Custom Settings" to manually set video and audio bitrates. In the following screenshot you can see the "Custom Settings" options. Notice that from here you can set the temporal and spatial filters.
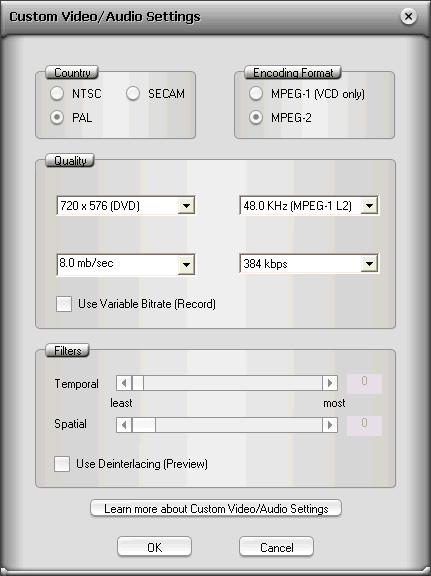
Video sizes vary from 720x576 to 352x288, and video bit-rates from 2Mb/sec to 15Mb/sec.

![]()
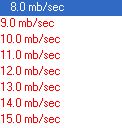
Remember that most Hollywood movies use 8Mb/sec or 9Mb/sec variable bitrate and setting the bitrate higher than this value might cause compatibility problems with some older Stand-alone DVD Players. This is why bitrates higher than this are displayed with red color. On the other hand, it is good to see the device having this option, even if you do not need it.
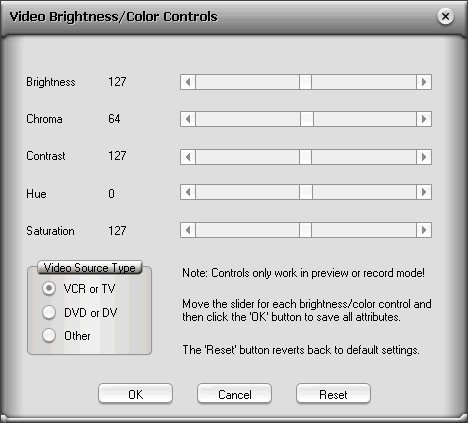
The Brightness/Color option lets you control brightness, chroma, contrast, hue and saturation of the recorded file. To improve performance, you should always select the Video Source type.
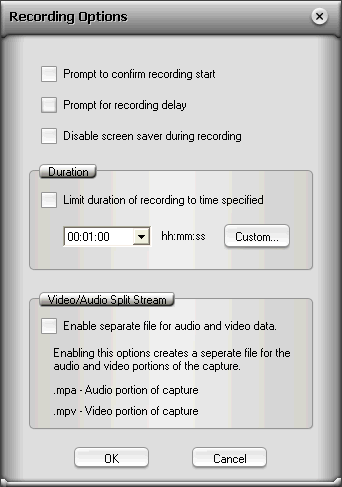
You can also limit the encoding duration of your project, or even set the encoder to record to separate files for your project for further editing, one for the video and one for the audio stream.

After capturing the files you desire, you can always see general info about each file.
For this review we created several DVD quality files, along with VideoCD and Super VideoCD media files. The whole capturing procedure, file analysis and video quality performance will be discussed later on this review.
Review Pages
2. The Converter
3. Capture Wizard - Page 1
4. Capture Wizard - Page 2
5. Bundled - Bonus Software
6. Video/Audio files analysis
7. Video Quality Tests Page 1
8. Video Quality Tests Page 2
9. Video Quality Tests Page 3
10. Video Quality Tests Page 4
11. Video Quality Tests Page 5
12. Video Quality Tests Page 6
13. Audio conversion
14. Conclusion


